Today I was making some moldings on the faces of framing parts for the cupboard I’m making. I can’t remembe when I last showed these, so thought I’d add this post. I call them “crease” moldings – from 17th century references to molding planes. There’s mainly three kinds of moldings I see – applied moldings (I’ll skip them for now) and two sorts of integral moldings. Those on the edge of a board and those that run down the center of the stock. While lots of moldings were probably made with creasing planes, some were not. I make the ones down the middle with a plow plane and a scratch stock/scraper.
Here’s just a couple of references to start off – these are probate inventories from New England.
1661 Jonathan Proudfoot, Cambridge
2 frameing Sawes 6s, a Handsaw 3s, 3 axes 10s, a 2 foote rule 12d, 5 chessels & a gouge 2s6d, 2 Squares 3s6d, Twibell 3s, an ads 2s, an Holdfast 12d, 2 Hamers 2s, 5 planes 9s, a plow to draw boords 2s, a stocke shave 1s, 9 creasing planes 8s, a peece Sole leather 12d, a grindstone & winch 8s, 10 peeces of Square Timber 1£, pine boords 12s
Another reference, this time from Essex County
1675, Georg Coall (Cole)
will: “…I give to my master John Davis all my timber…”
3 saues 8s, 2 goynters & foreplaine 6s, 3 smothing plains & a draing knife 3s6d, 2 plans & 2 revolvong plains 10s, 4 round plains 5s, 3 rabet plains 4s, 3 holou plains 3s6d, 9 Cresing plains 10s6d, 6 torning tools 9s, 3 plaine irons & 3 bits 1s6d, 1 brase stok, 2 squares & gorges 1s6d, 1 brod ax & 1 fro 2s, holdfast 1s6d, hamer 1s6d, 6 gouges 2s, 9 Chisels 5s, 2 ogers & 1 draing knife 3s, 1 bench hooks, 2 yoyet irons 1s, a gluepot 1s6d, for what work he has done in his shop £1-10
Interesting that in George Cole’s case the planes are distinct from the hollow & round planes listed before them. Revolving planes – goodness knows. Might be a mis-transcription too, I’ve never seen the original of this document, only a transcription.
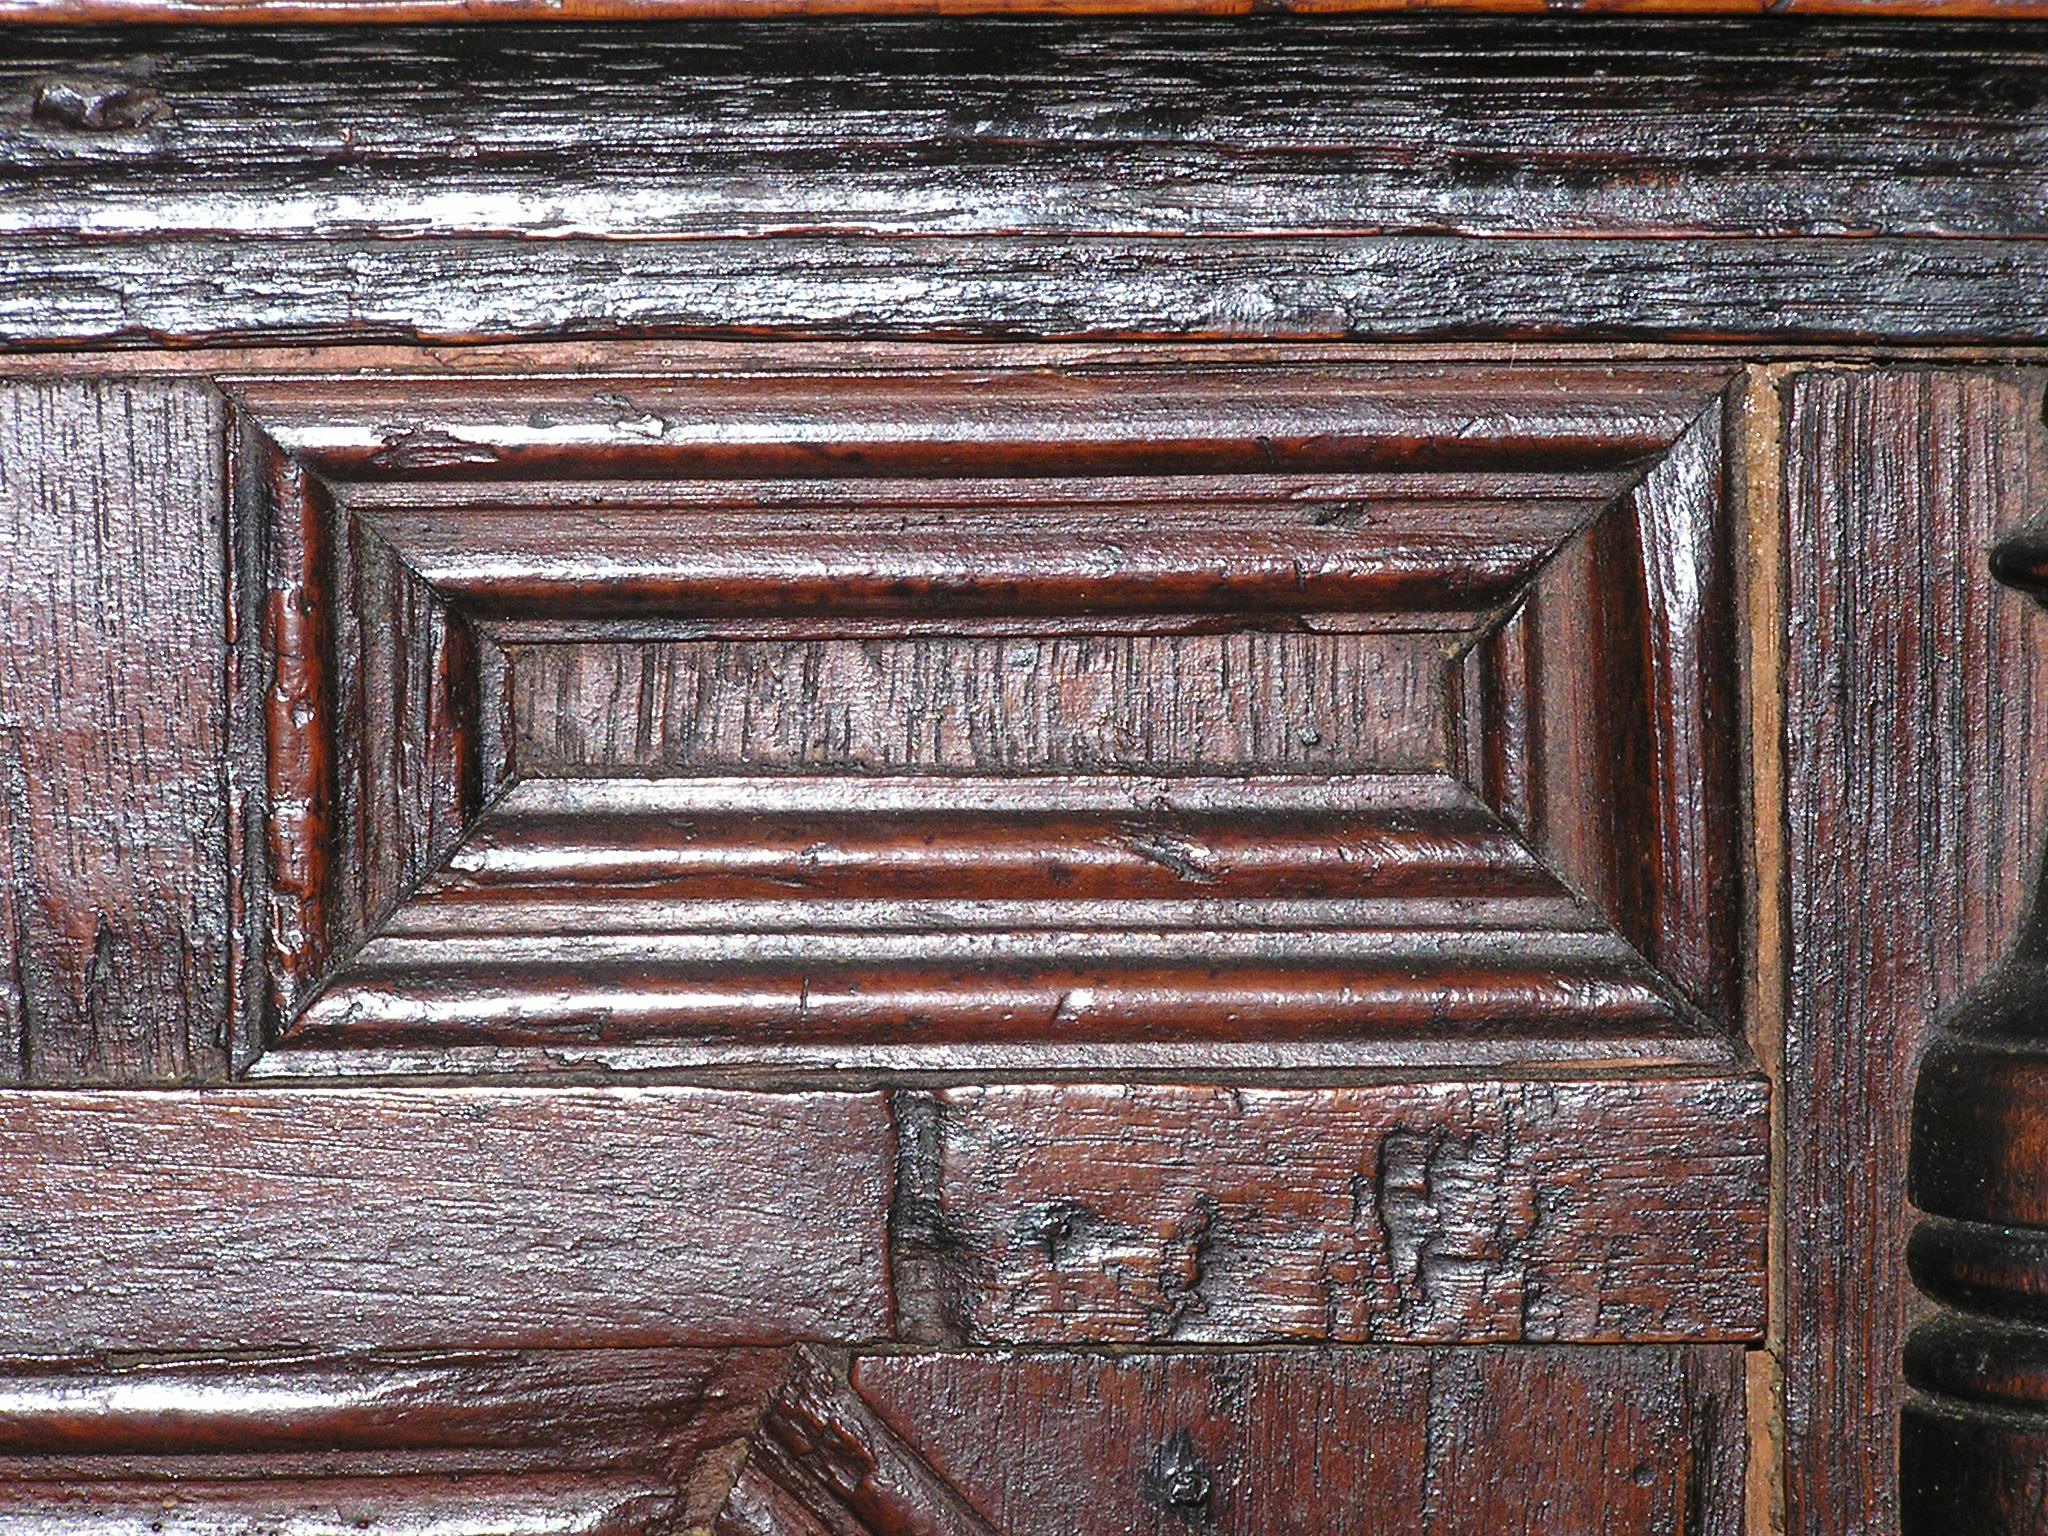
So some moldings are made with planes for certain. But for many of mine, I use a scratch-stock (a profiled scraper in a wooden stock). Why? Well, in addition to the inventory references, there’s the evidence on surviving furniture. Look at this wiggly molding on a small joined chest from Dedham Massachusetts:

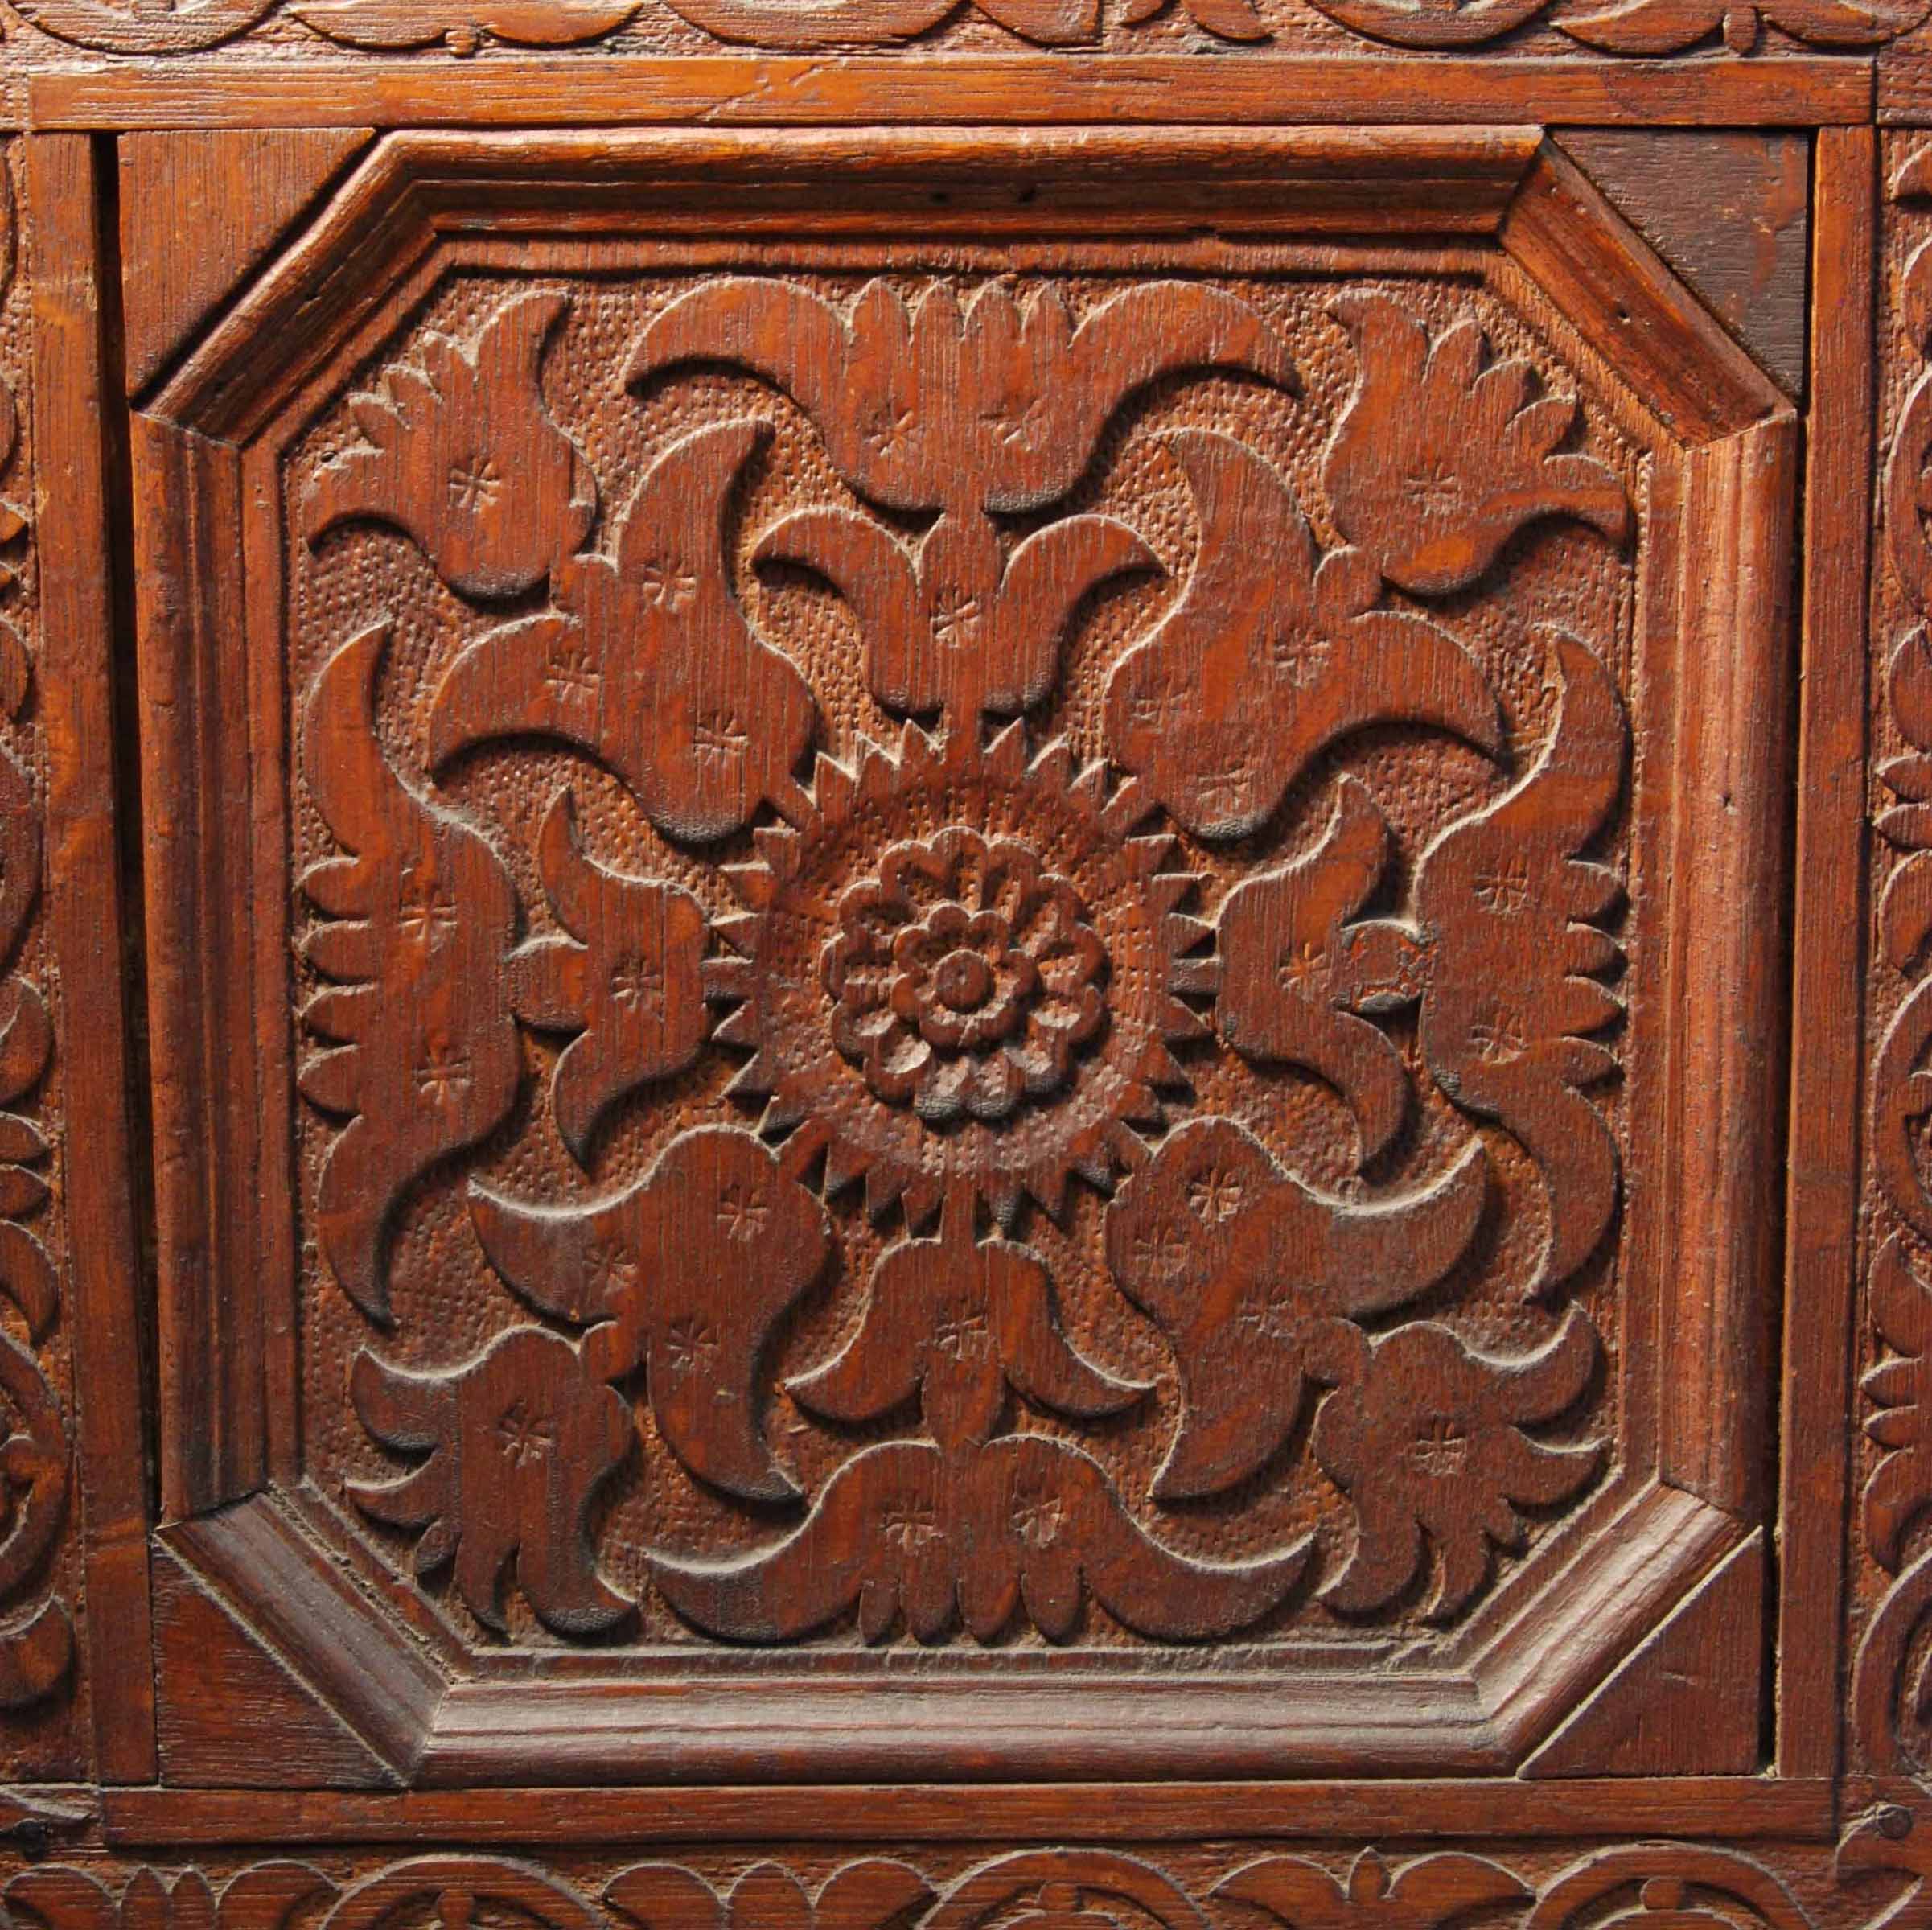
And another from the same shop – here the molding on the top and middle rails fades out before reaching the end of the stock.

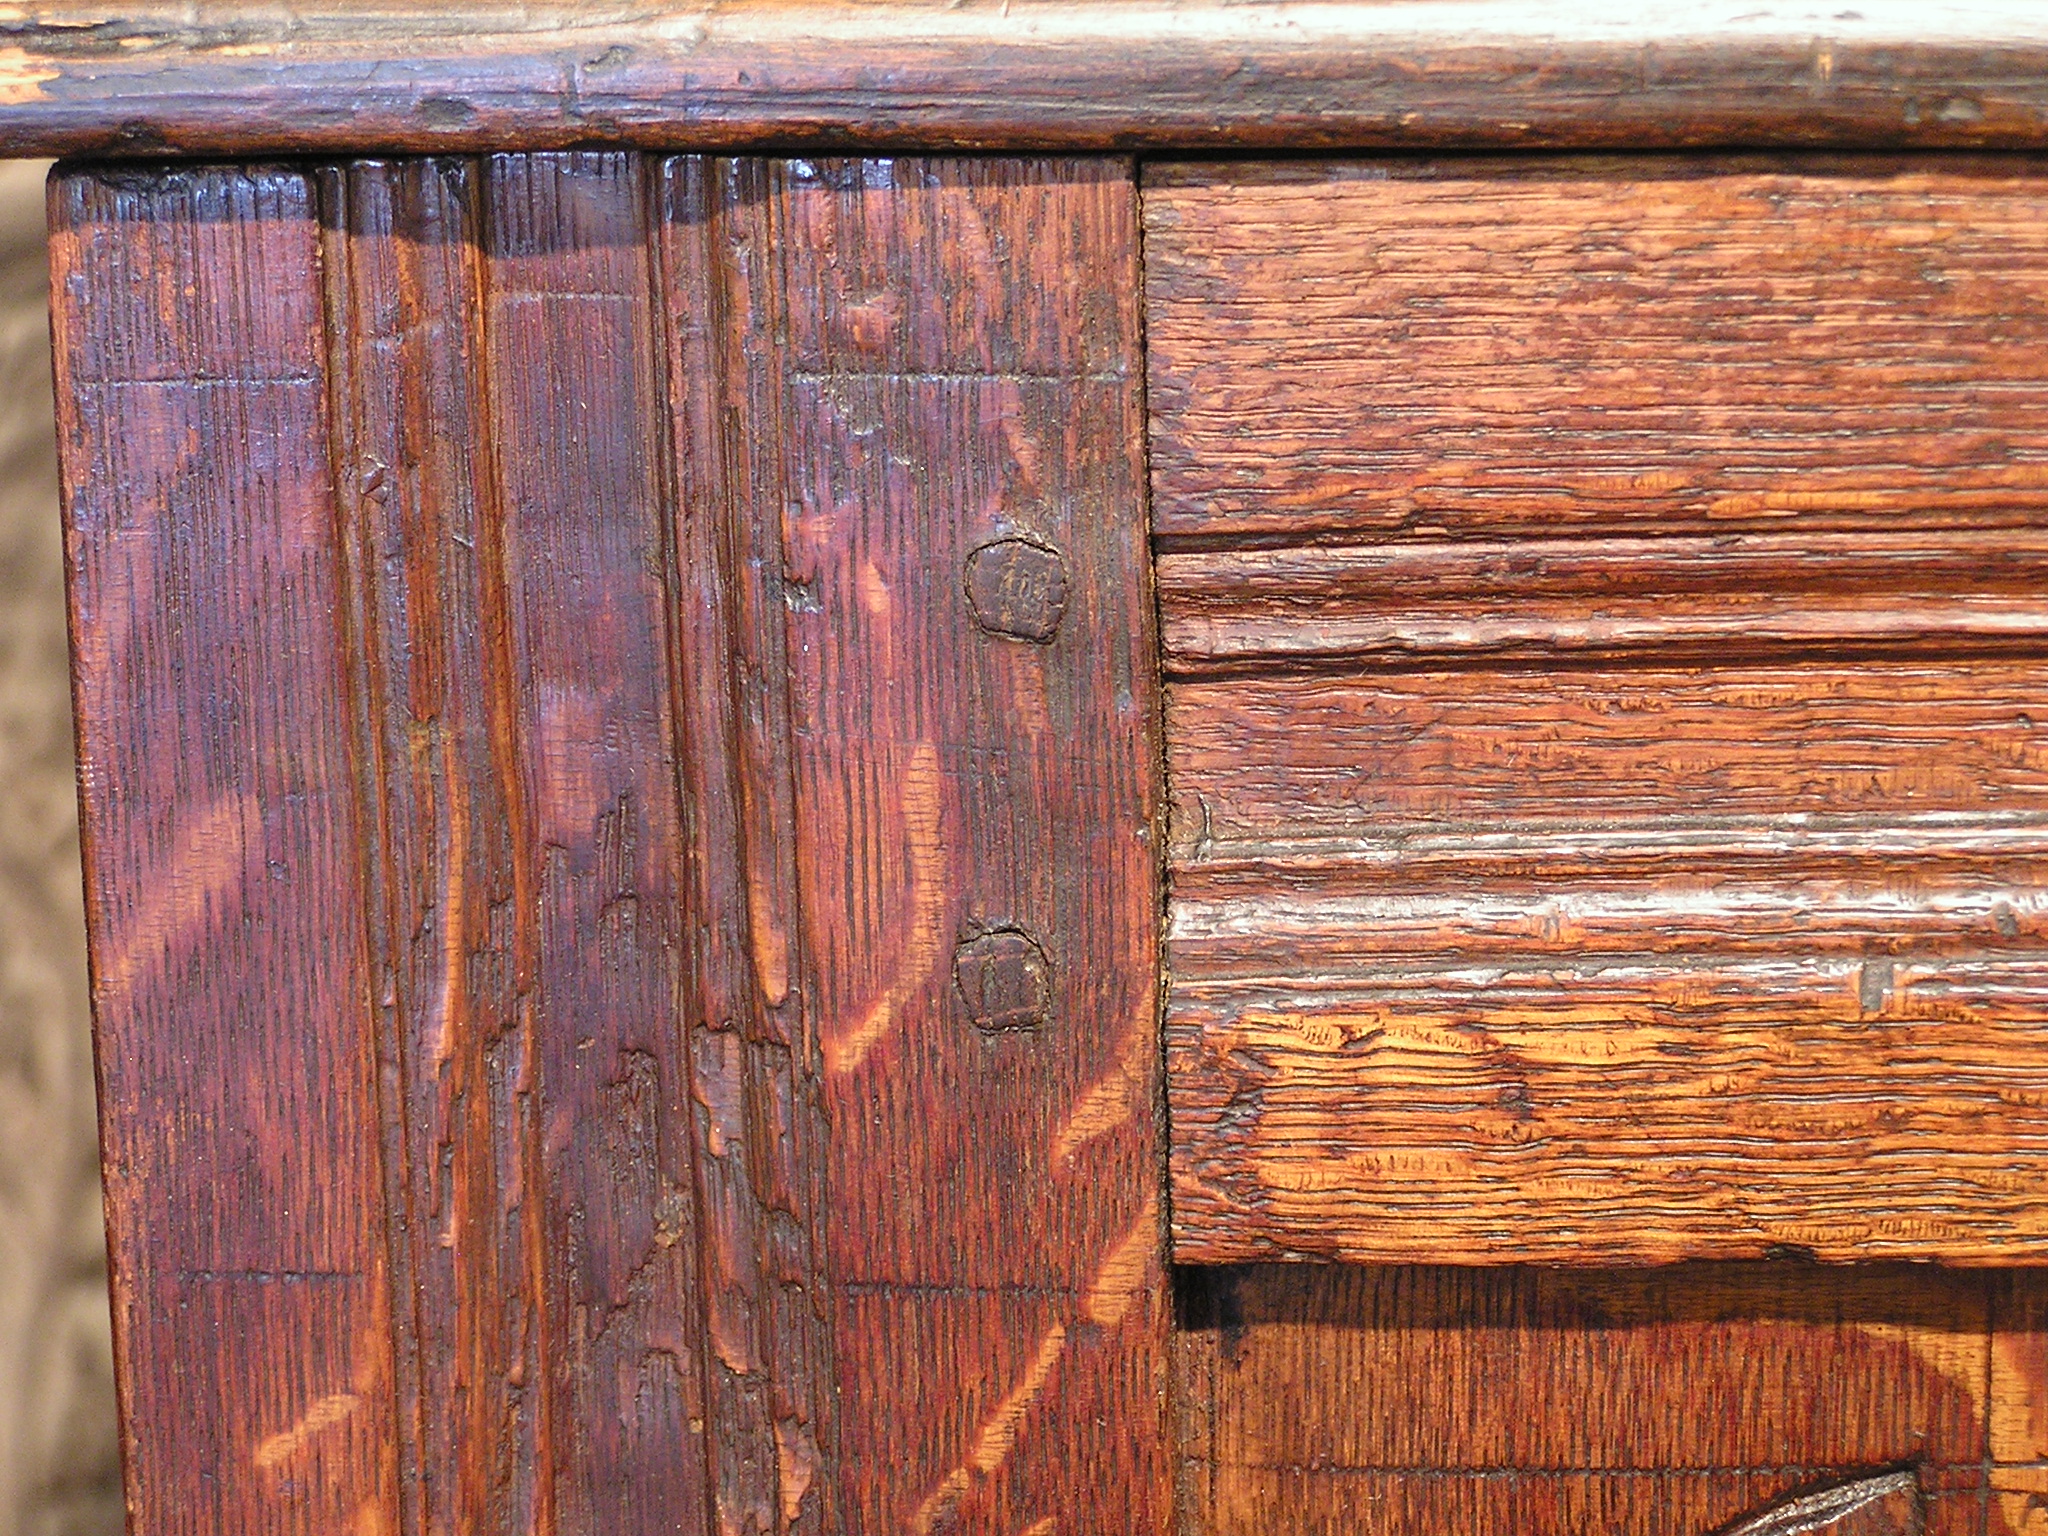
I think both of these results are hard to get with a plane. And another argument for scraping some moldings is this chest from New Haven Colony – its molding has its full profile then in a very short distance it fades to almost nothing. Again, I can’t see how you can cut that with a typical molding plane with a body of any reasonable length.

It’s especially significant over the middle panel – in that case the whole run of molding is only about 10″ long.

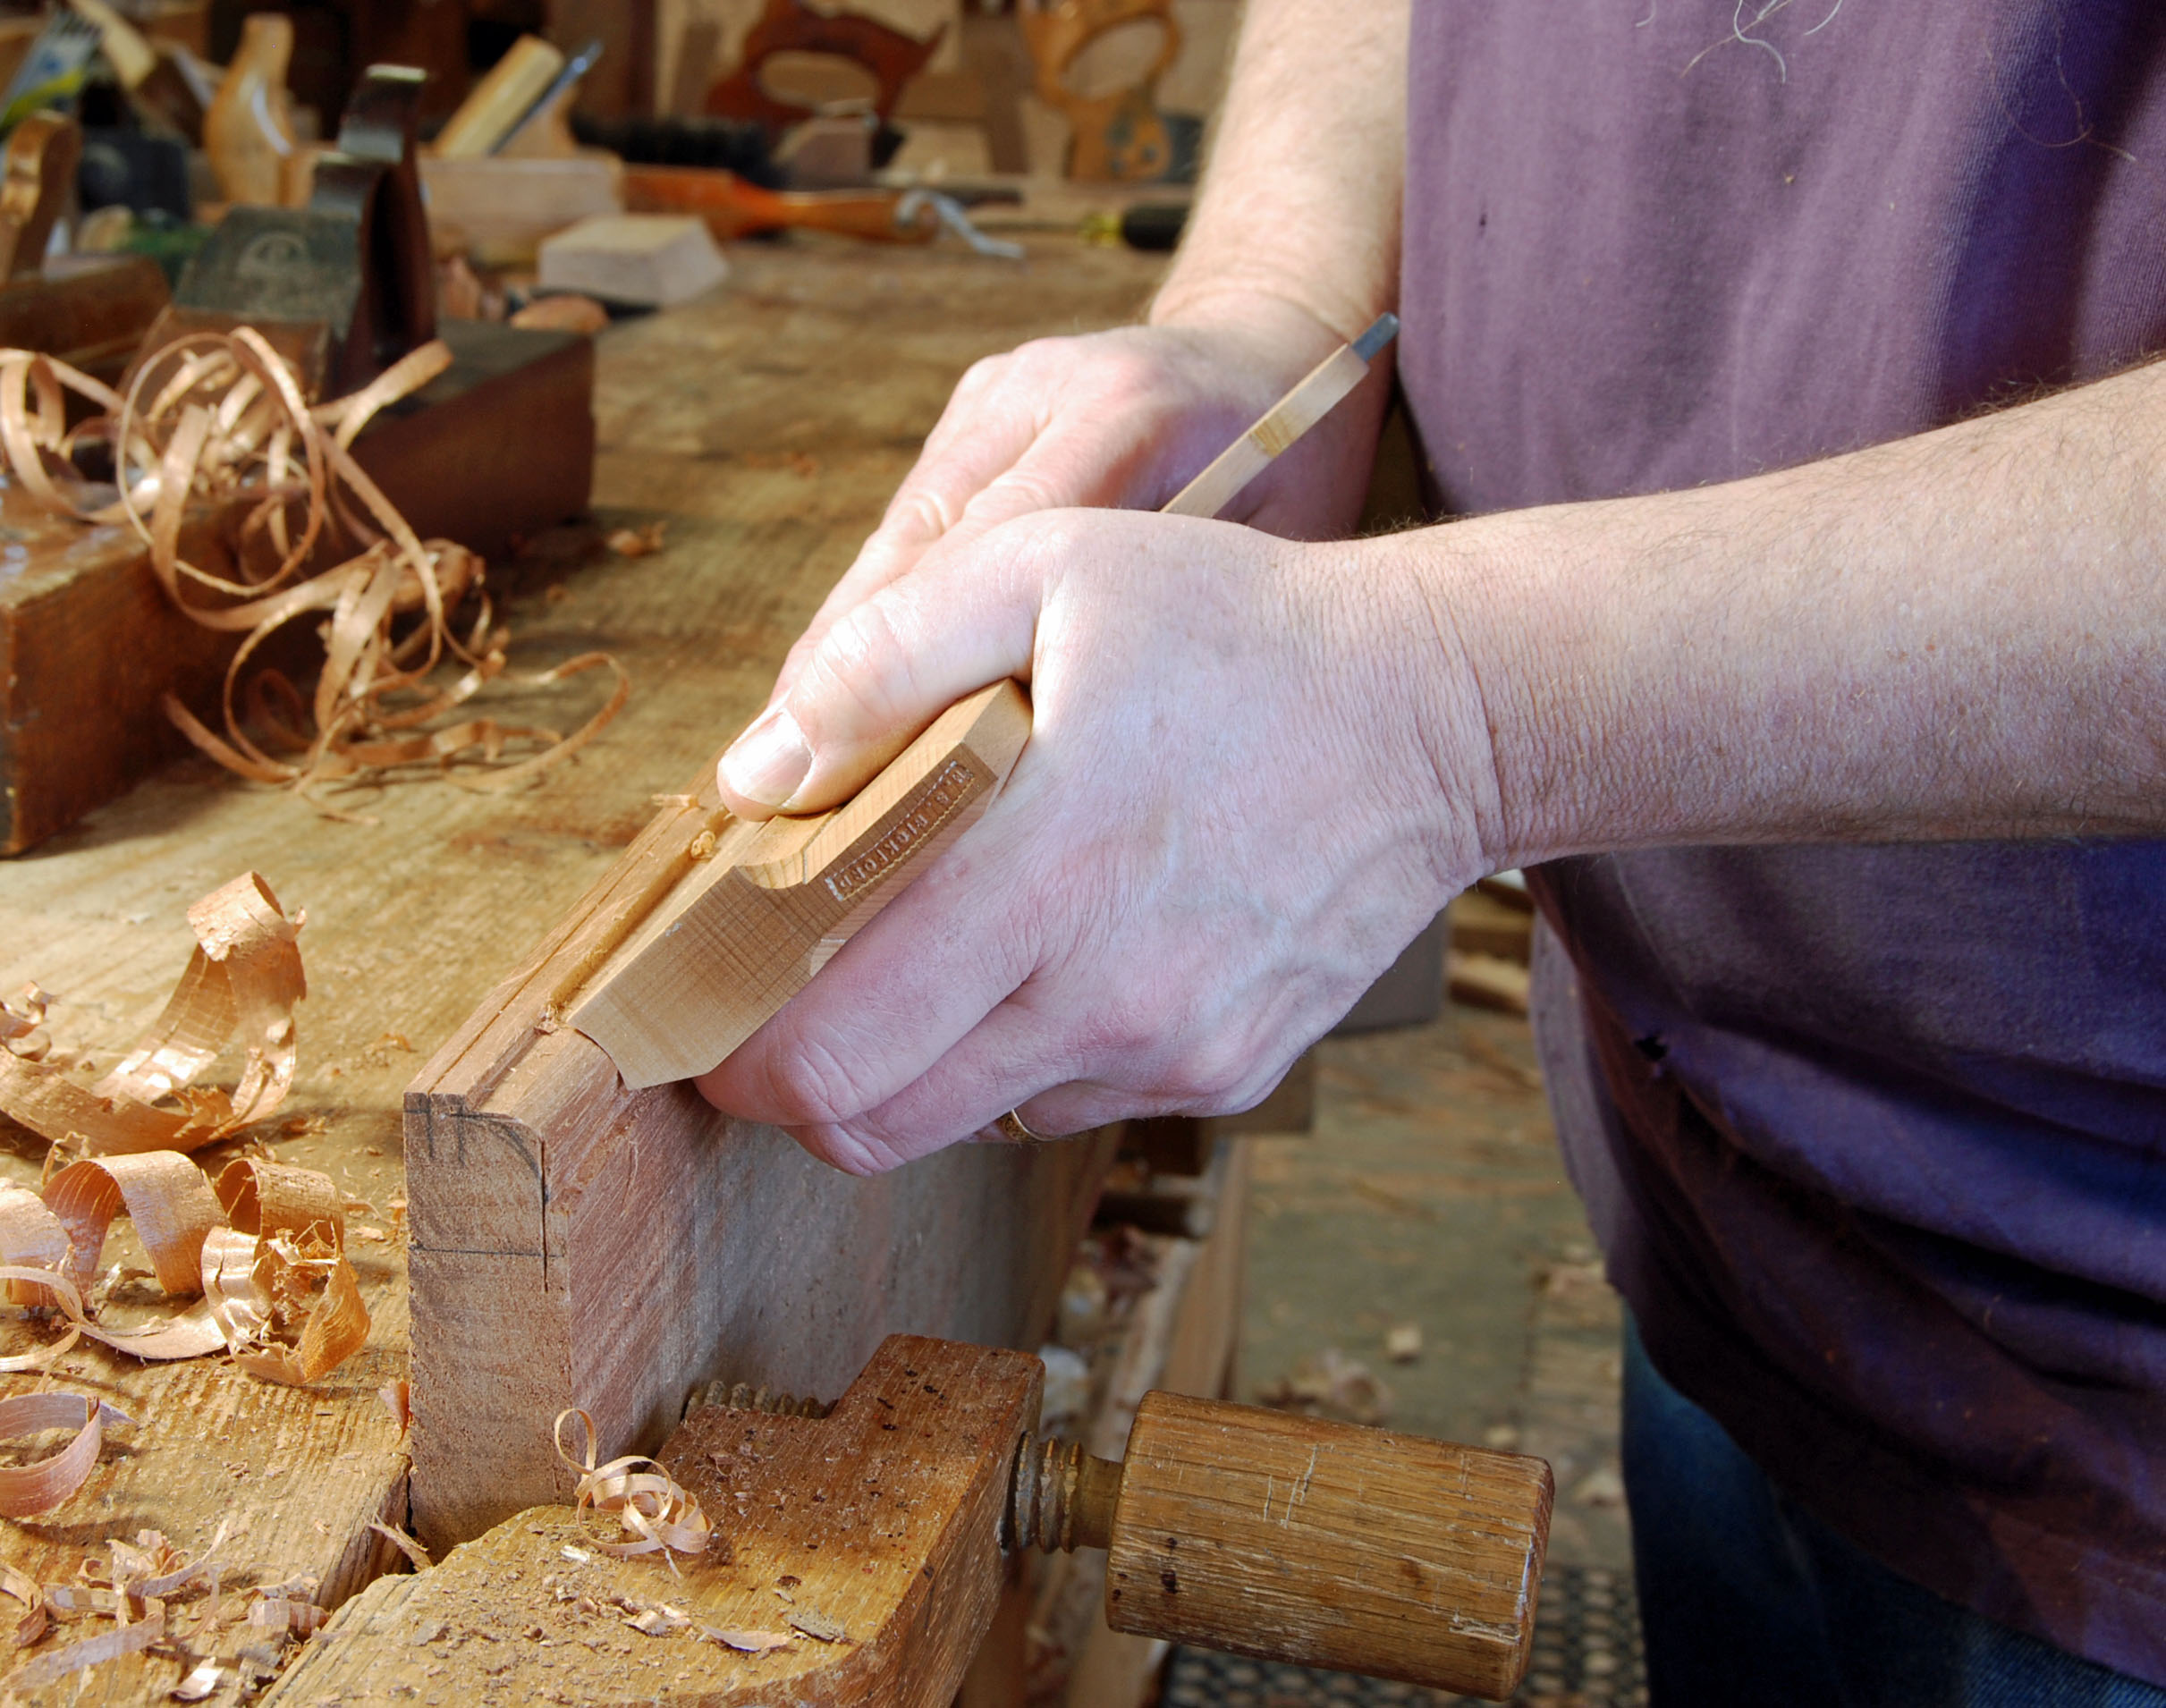
The ones I was cutting today come in two steps. First I plow a groove 1/2″ wide down the length of the stock.

Then I use a scraper/scratch stock I made to scrape the profiles on each side of the plowed groove.

We have no idea what the scraper/scratch stock of the 17th century was called or what it looked like. So mine’s just what works easily. I made it like a marking gauge, adjusted by a wedge fence. The scraper slips into a saw kerf in the beam. then pinched in place with a screw.

Joseph Moxon describes a tool on a trammel which he calls a “sweep” for making moldings on arches. It’s hard to tell if his scraped or cut the moldings like a plane does…but it’s the closest I’ve come in 17th century writings to describing a scratch stock. And it ain’t close really.

Moxon on the turner’s sweep,
Of laying Moldings either upon Mettal, or Wood, without fitting the Work in a Lathe
I Had, soon after the Fire of London, occasion to lay Moldings upon the Verges of several round and weighty pieces of Brass: and being at that time, by reason of the said Fire, unaccomodated of a Lathe of my own, I intended to put them out to be Turned: But then Turners were all full of Employment, which made them so unreasonable in their Prizes, that I was forc’d to contrive this following way to lay Moldings on their Verges.
I provided a strong Iron Bar for the Beam of a Sweep: (For the whole Tool marked (D) in Plate 16, is by Mathematical Instrument-makers called a Sweep) To this Tool is filed a Tooth of Steel with such Roundings and Hollows in the bottom of it, as I have intended to have Hollows and Roundings upon my work: For an Hollow on the Tooth, makes a Round upon the Work; and a Round upon the Tooth makes a Hollow upon the Work; even as they do in Molding-plains Joyners use. Then I placed the Center- point of the sweep in a Center-hole made in a square Stud of Mettal, and fixed in the Center of the Plain of the Work, and removed the Socket that rides on the Beam of the Sweep, till the tooth stood just upon its intended place on the Verge of the Work, and there screw’d the Socket fast to the Beam.
To work it out, I employ’d a Labourer, directing him in his Left Hand to hold the Head of the Center-pin, and with his Right Hand to draw about the Beam and Tooth, which (according to the strength) he us’d, cut and tore away great Flakes of the Metall, till it receiv’d the whole and perfect Form the Tooth would make; which was as compleat a Molding as any Skillfull Turner could have laid upon it.
Having such good Success upon Brass, I improv’d the invention so, as to make it serve for Wood also. And make a Plain-Stock with my intended Molding on the Sole of it, and fitted an Iron to that Stock with the same Molding the Sole had.
Through the sides of this Stock I fitted an Iron Beam, to do the Office of the Beam I used for the Sweep, viz to keep the Plain always at what position I lifted from the Center (for thus the Iron in the Plain wrought about the Center, even as the Tooth in the Sweep (before rehearsed) and to that purpose I made a round Hole of about half an Inch Diameter near the end of the Iron: then in the Center of the Work I fixed a round Iron Pin, exactly to fit the said round Hole, putting the round Hole over the pin, and fitting the Iron onto this Stock commodious to work with. I used this Plain with both hands, even as Joyners do other Plains: For the Iron Pin in the Hole of the Beam kept it to its due distance from the Center; so that neither hand was ingaged to guide it.
But note, The Stock of this Plain was not straight (as the Stocks of other Plains are) but by Hand cut Circular pretty near the size of the Diameter of the intended Molding; And yet was made to slide upon the Beam, farther from or nearer to the Center, as different Diameters Verges might require.