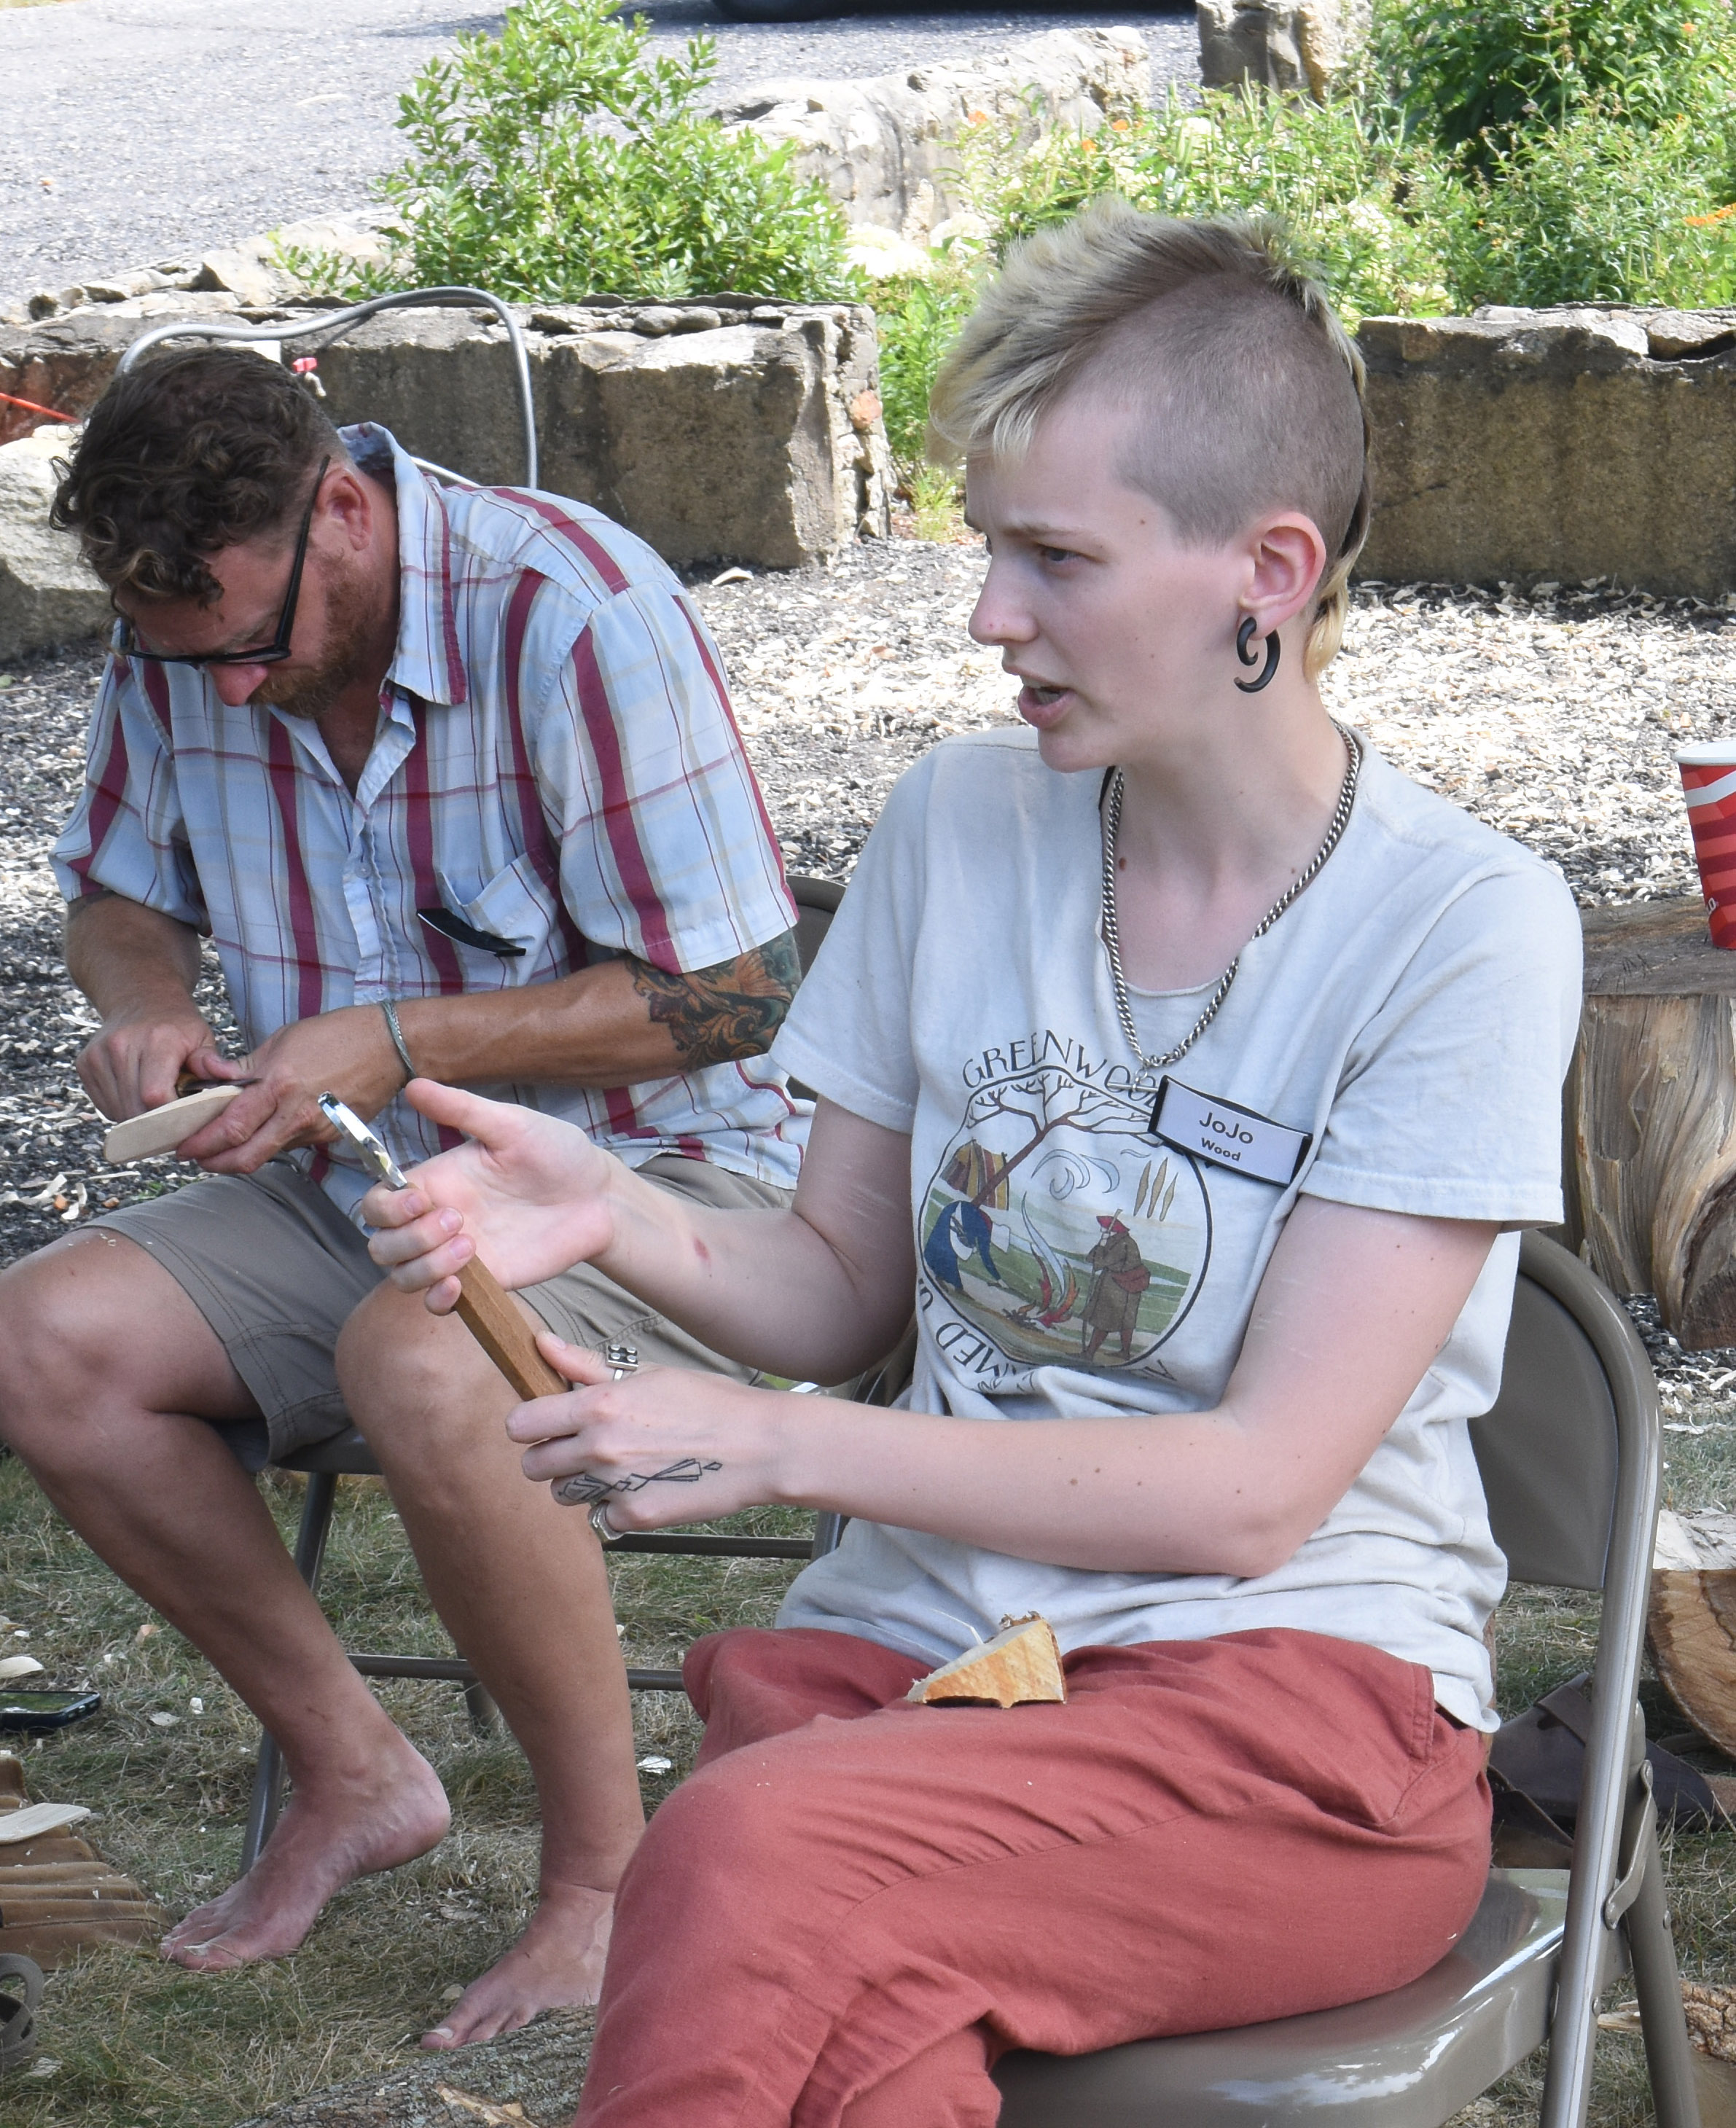
I built this chair a while ago, but added a linseed oil finish lately and now it’s presentable. I’ve lost track but this might be about the 6th of these chairs I’ve made in the past couple years. I’ve written before about my introduction to them through Drew Langsner’s long-ago article about one he made with his mentor Ruedi Kohler, the Swiss cooper. Like Drew, another big influence on my work was Daniel O’Hagan (1923-2000). I met him through Drew’s classes back in the 1980s. When I met Daniel, I owned a tablesaw, jointer, drill press, electric lathe, circular saws, portable electric drills, etc. I came home after one week with him and made a couple of phone calls and all those tools left my shop at once. That was 1985. I’ve never missed them.
I’ve had the chance recently to read through his old notes. Daniel wrote about these chairs in his shop notes over the years. That’s what spurred me to revisit making these European style chairs. They’re great fun to make. Just the right combination of ease and complexity.
This one is butternut again. The carving is a mish-mash, I really wasn’t concentrating on it, I just wanted to quickly fill the blank spaces. Mixing chip carving and gouge-cut carvings is silly, but my goal was to get on with the chair itself.

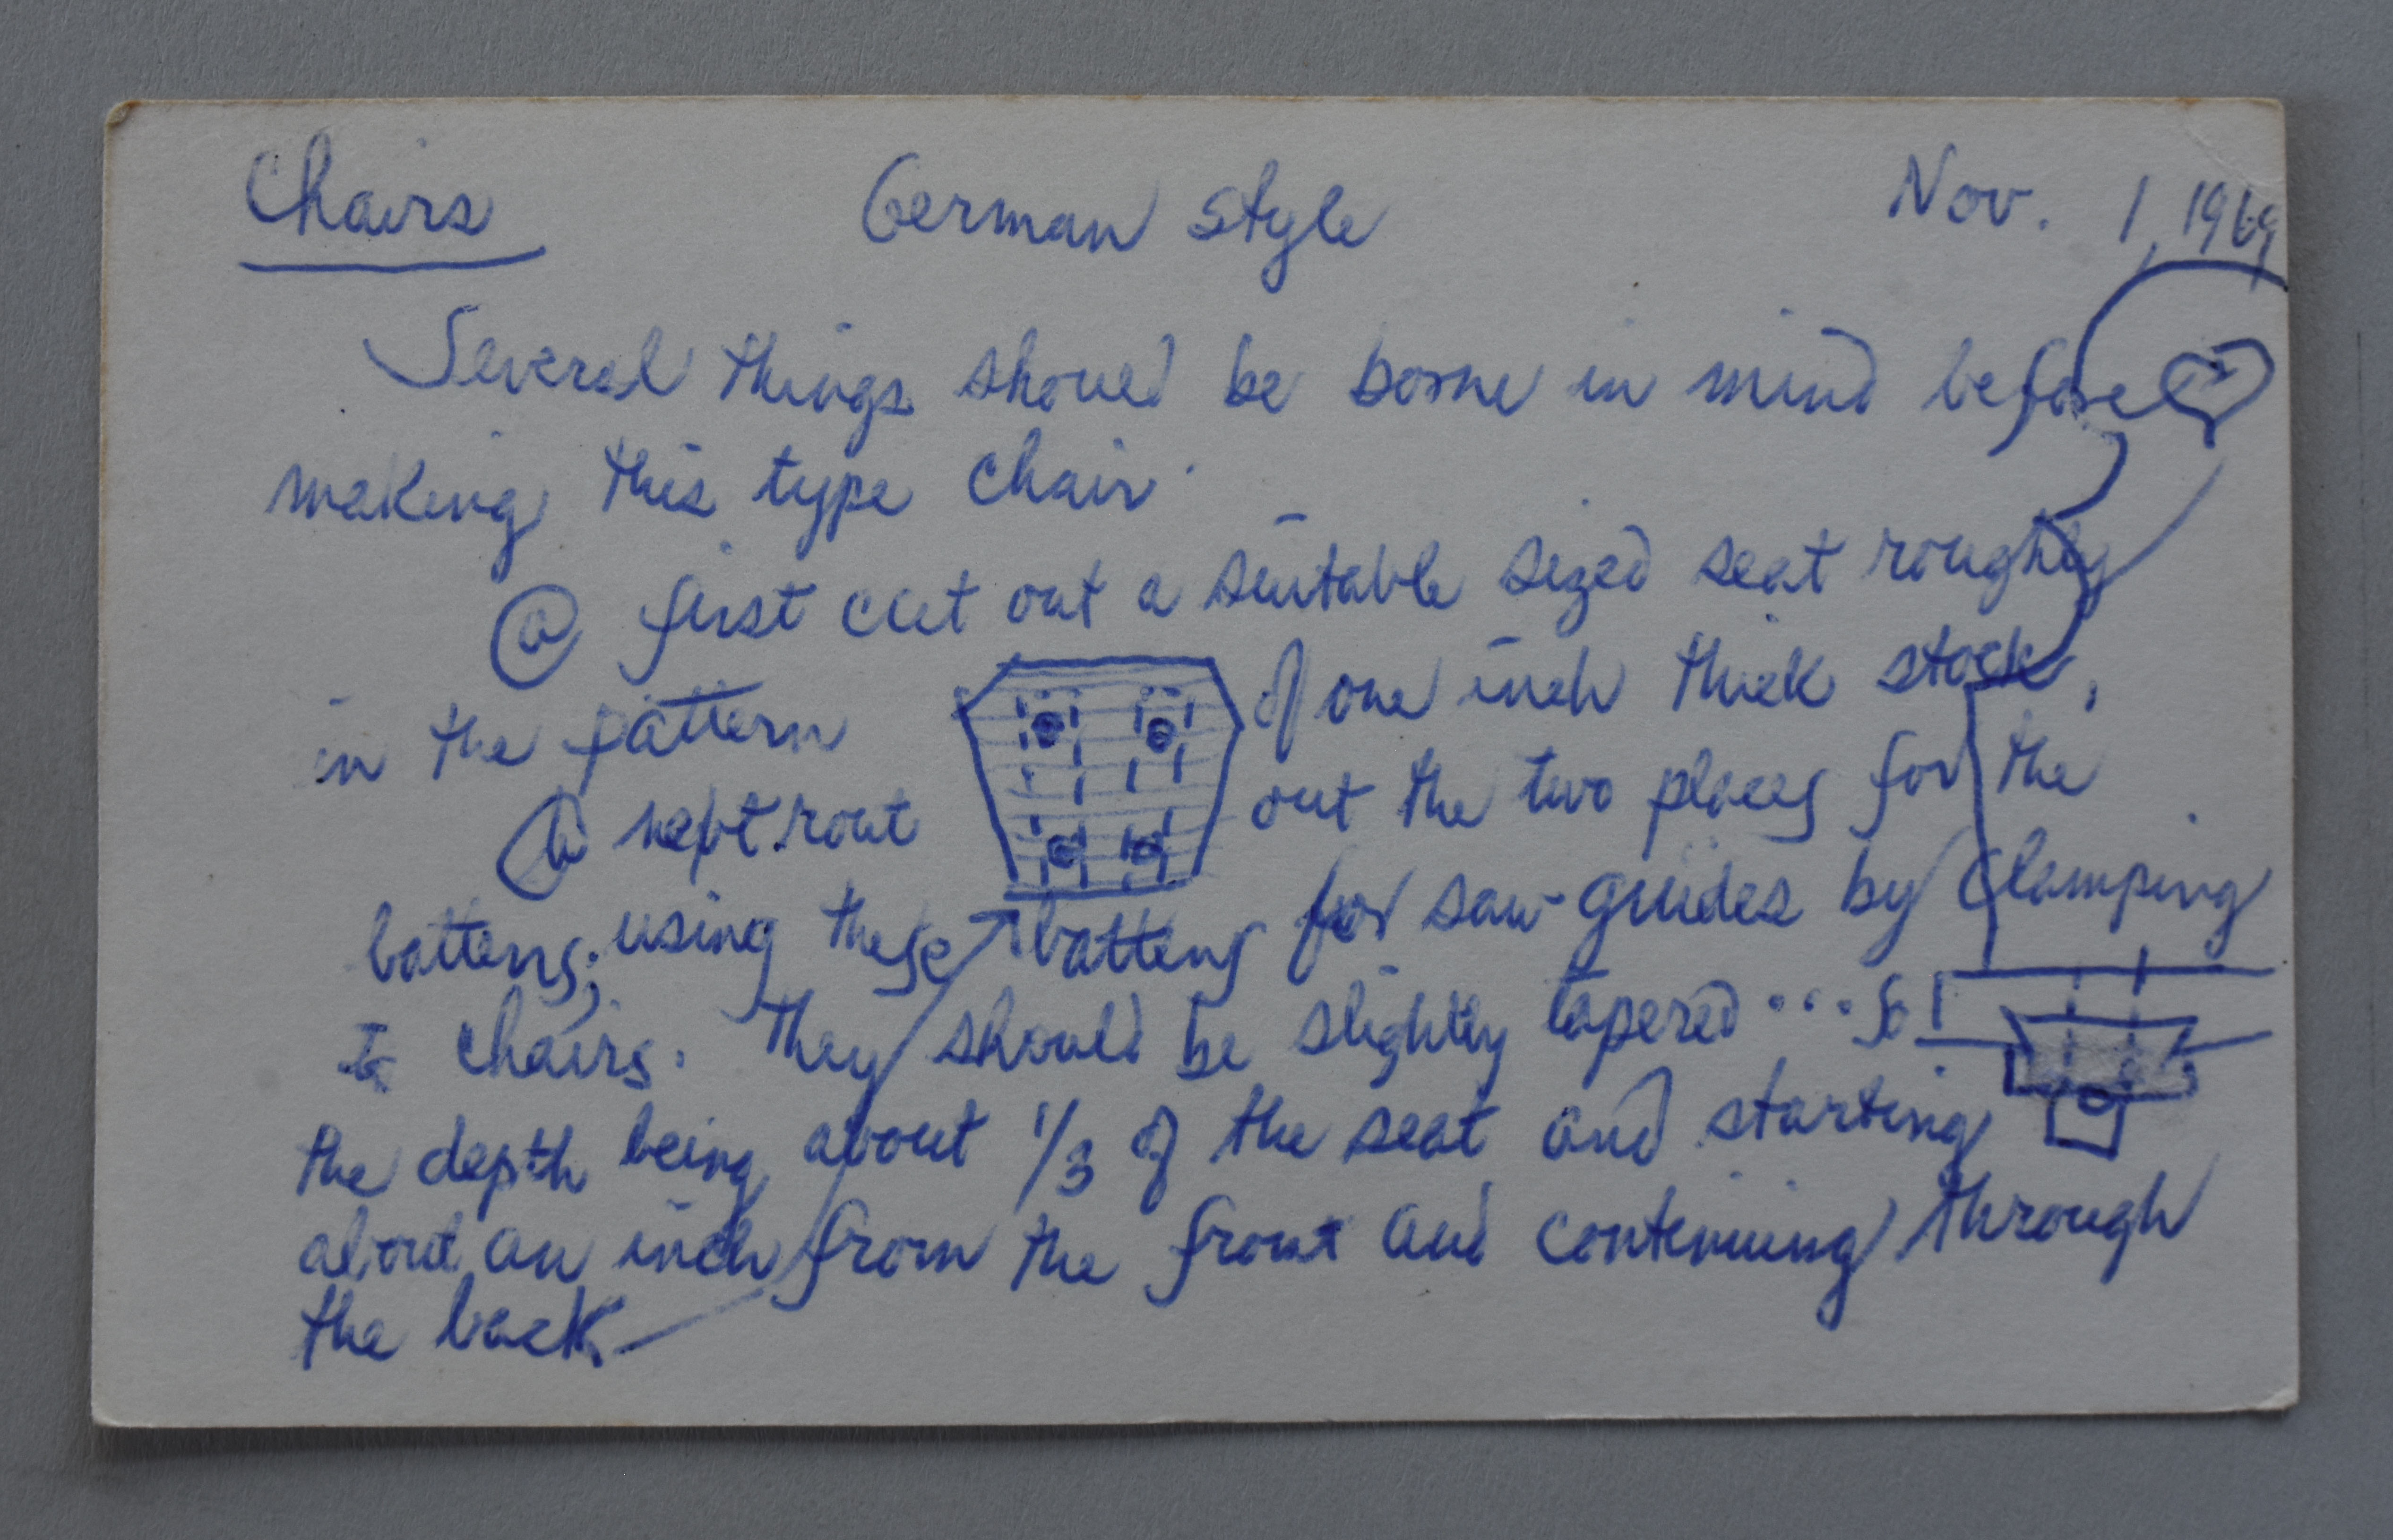
When I first made them, I was following the article by Drew. At that point, Ruedi Kohler had adapted his chairs to use blind tenons where the legs met the battens under the seat. I did the same for my first several chairs. On this one, I decided to go ahead and bore those mortises through both the battens and the seats. This invites the seat to split – the battens run 90 degrees to the seat’s long fibers. The minute I assembled this one, I liked it. The reason? It looks like the old chairs I see in museum collections, etc. Maybe it’ll split, we’ll see. Some do, some don’t.

I’m going to do a couple more with this format – the 3-piece back. It’s 2 extra joints, but only needs some narrow stock. And I like the open space in the back of the chair.
I also finished an arm chair based on the plans developed by Curtis Buchanan and Jeff Lefkowitz.

Although I tinkered a bit with Curtis’ details, I’m a copyist when it comes to a chair like this. This one’s got red oak arms, white pine seat and the rest is hickory. The major change I made I’ve discussed here before, I used a rectangular tenon where the crest meets the posts. Curtis’ is a bored 3/8″ hole in the post and he shaves the crest down to fit. I wanted to keep the crest full-height across the chair. That means I can’t “crown” the crest like he does, in fact it tends to droop a bit in the middle. It’s a trade I like. The crowning is more important to Curtis than the ends of the crest.

This is my 2nd attempt at this arm chair, (I’m sitting in the first one here at my desk) and I’ve made maybe 3 or 4 of the side chairs. This one went the best – no hassles. All the joints were tight but not so tight as to split any of those parts. It went like it was supposed to. Finally. Maybe I really can re-learn how to make windsors. We’ll see.
Curtis’ plans are here – https://www.curtisbuchananchairmaker.com/store/c8/Plans_for_Arm_Chairs.html
Some of my posts about brettstuhls https://pfollansbee.wordpress.com/?s=brettstuhl