carved box details

carved box, 2006

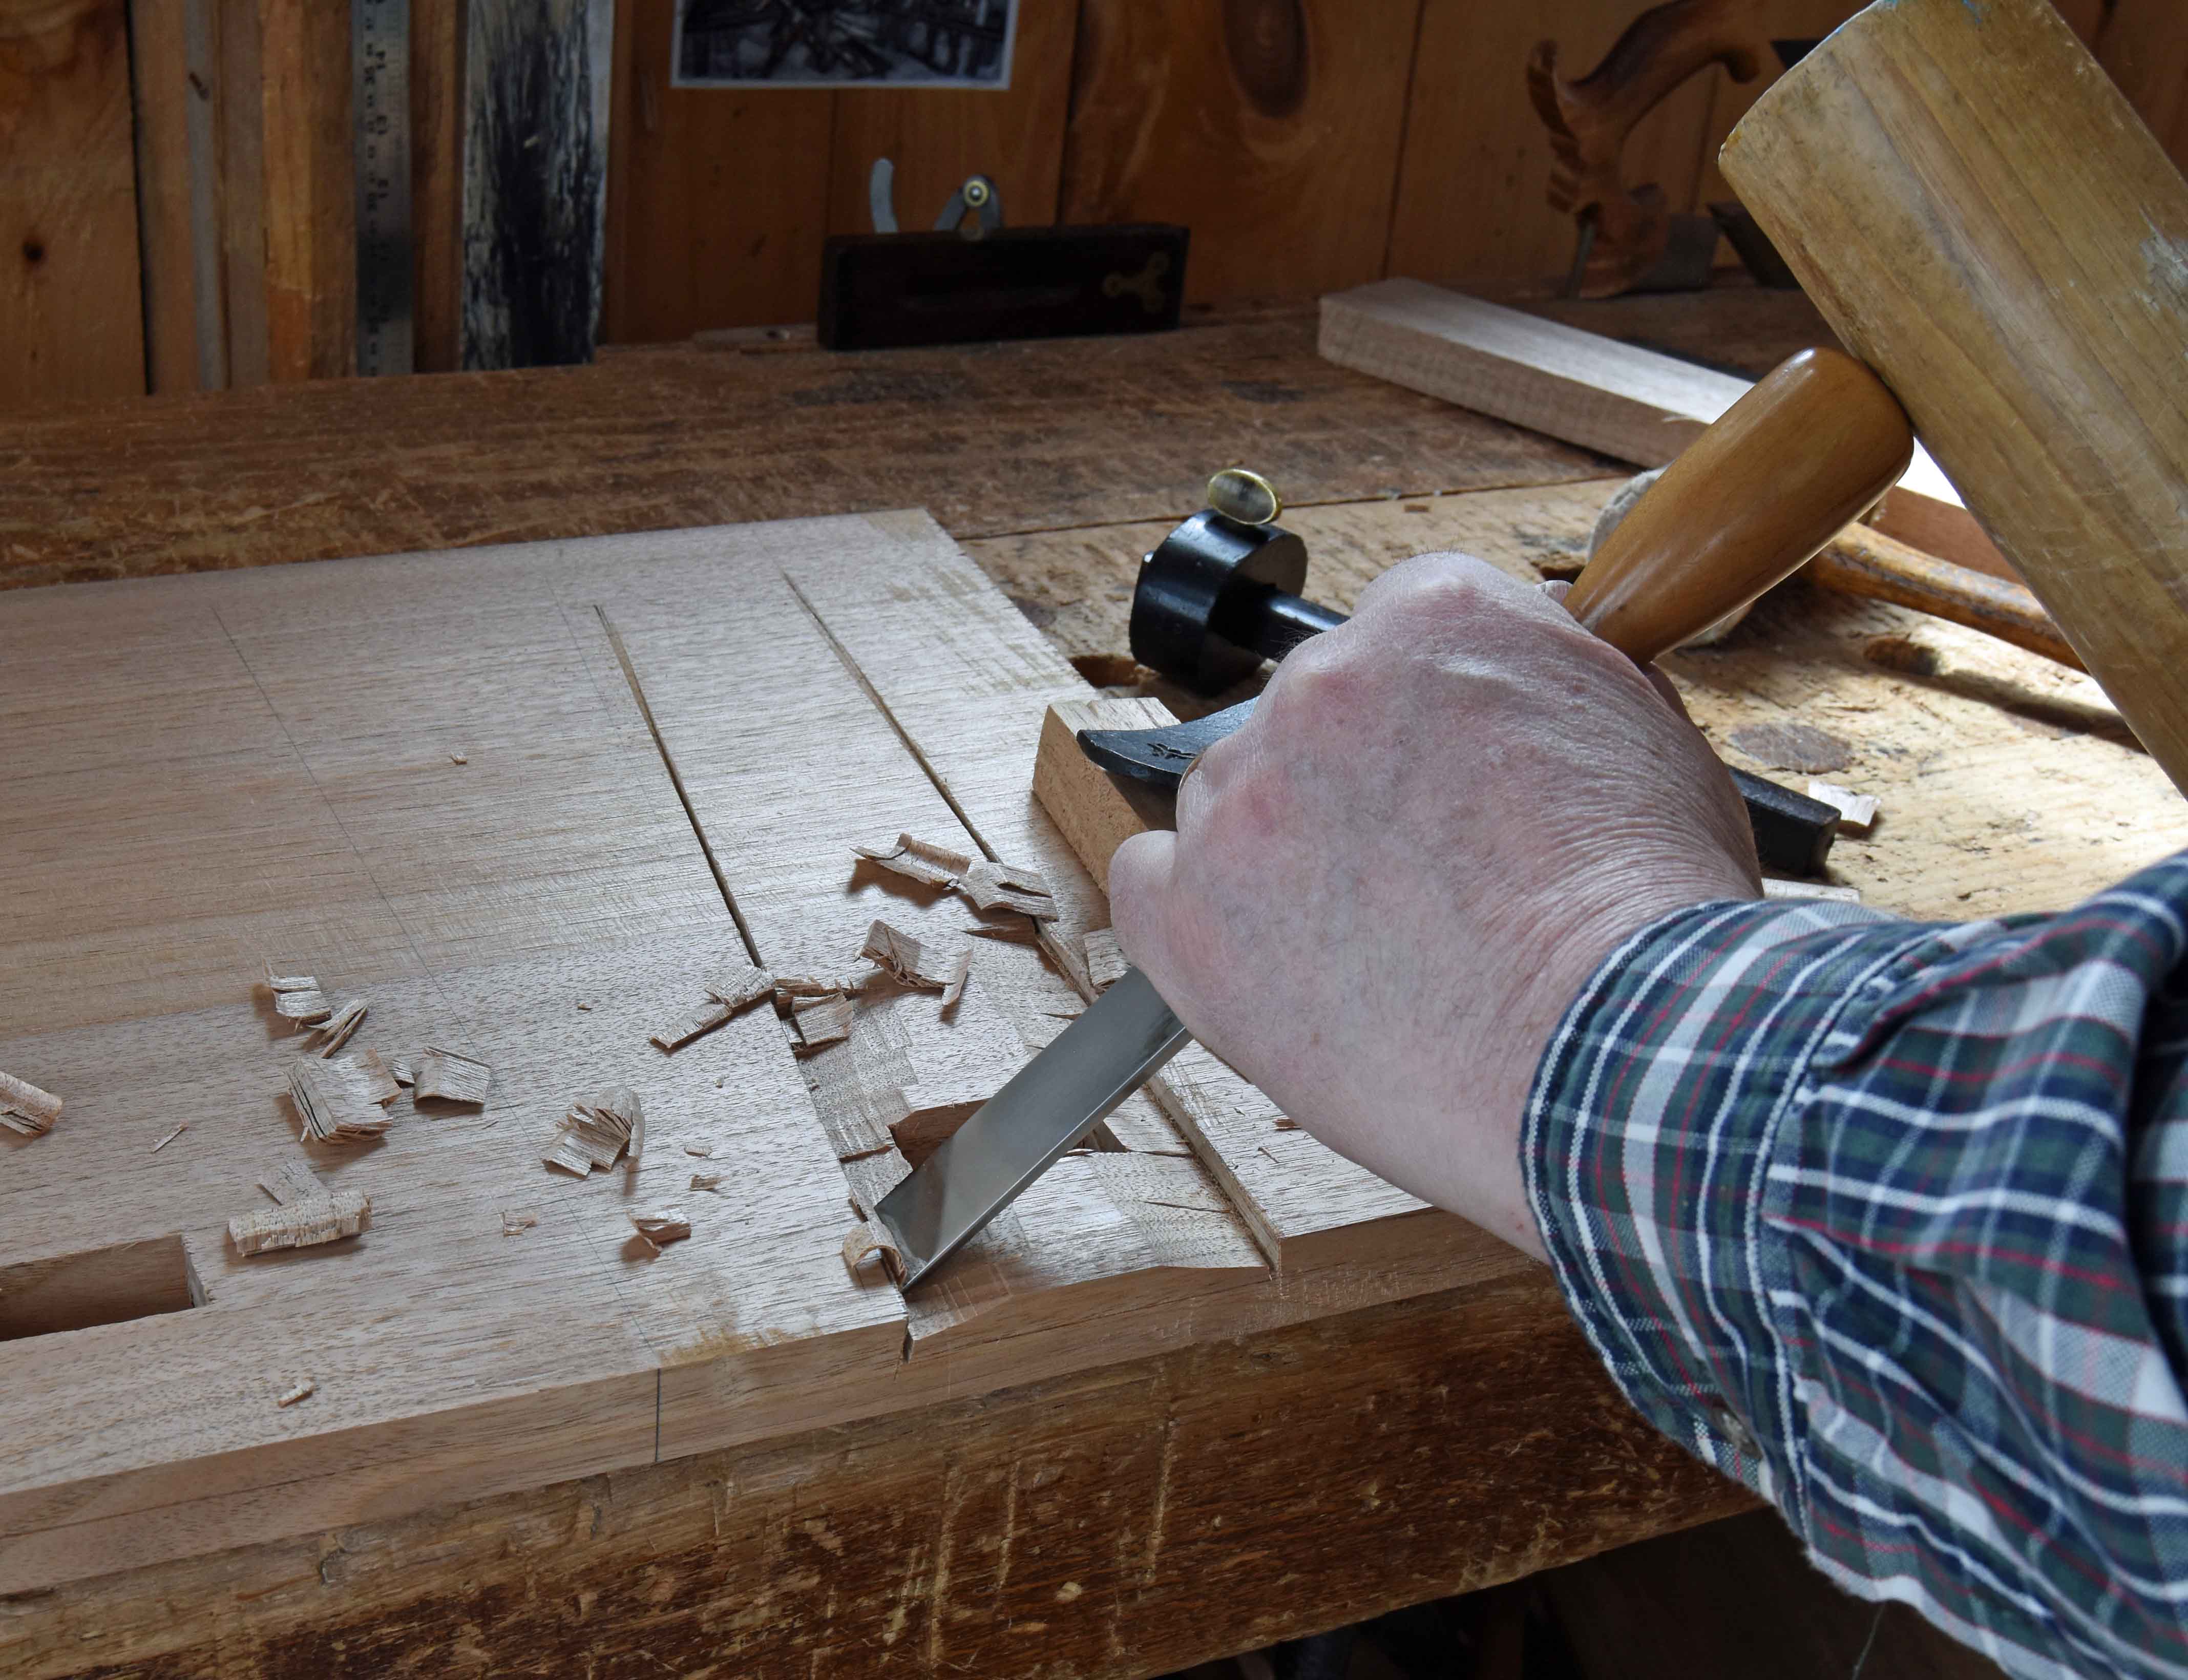
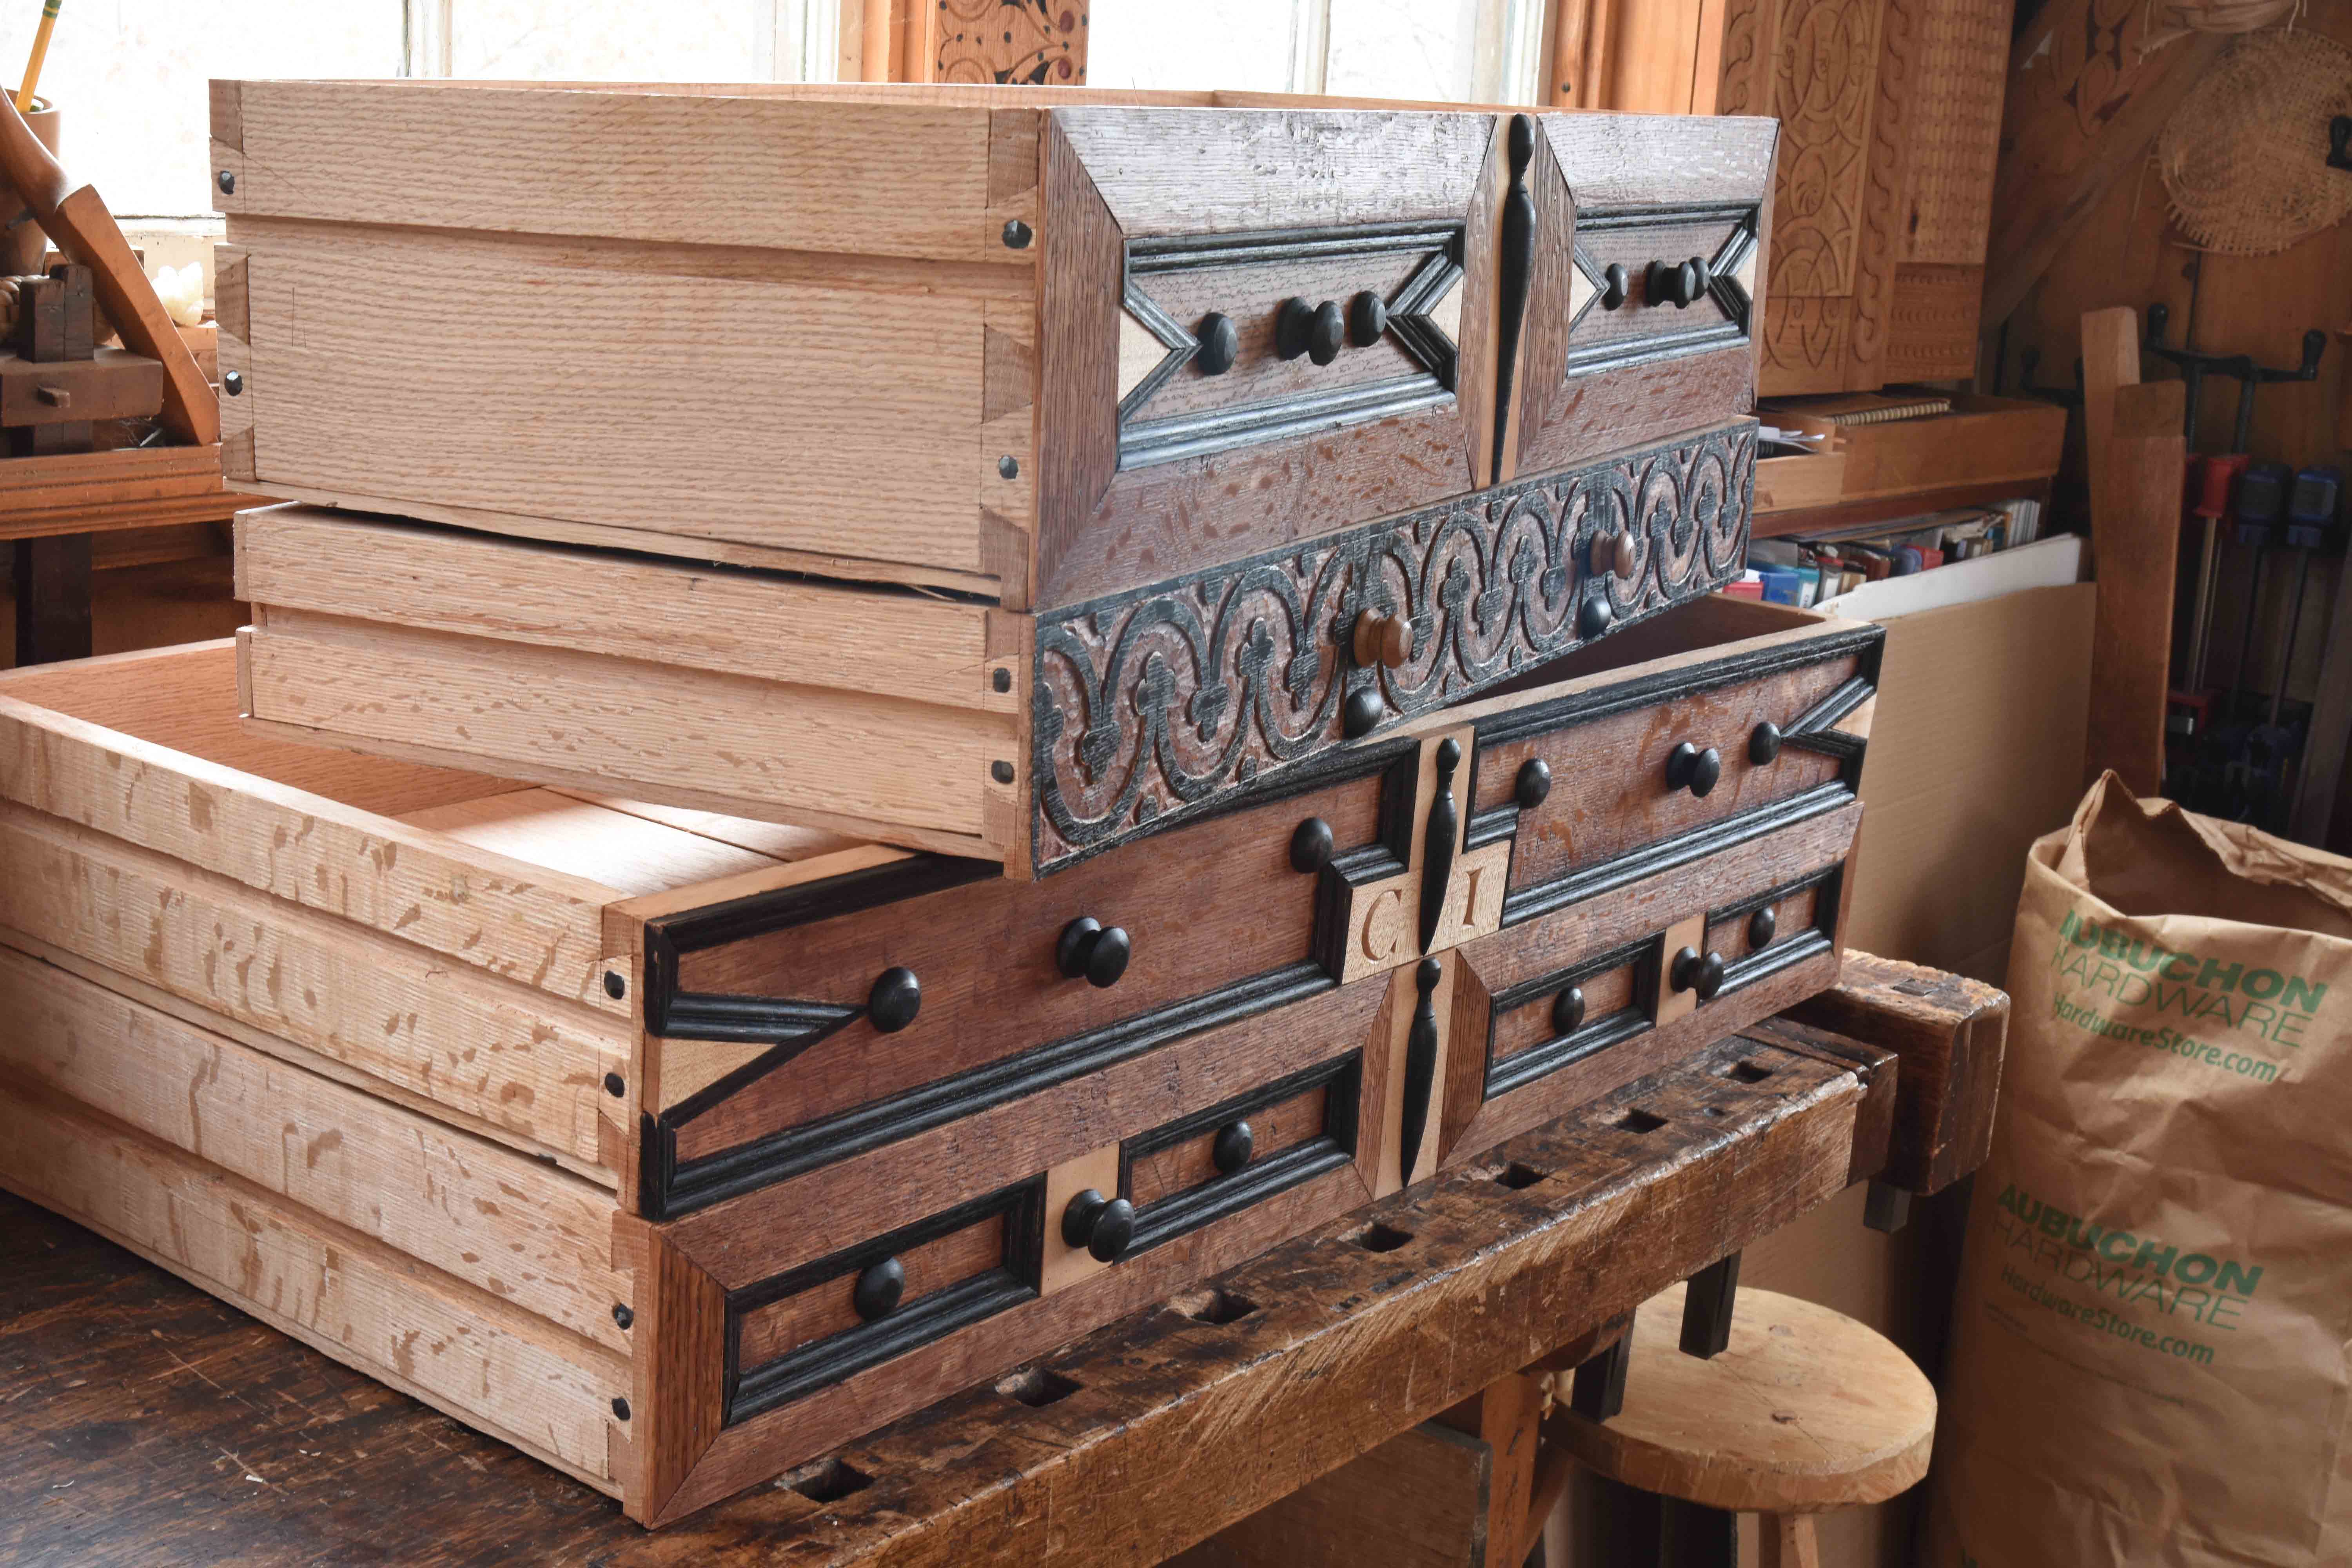
I’m about to go out on my 2nd teaching gig in the past 2-plus years. Carved box class at Lost Art Press. I’ve spent a chunk of today sorting reference material and other junk for the trip. I’ve looked at a lot of box-photos today. I have a folder here that includes photos of over 109 boxes I’ve made, but I know there’s lots that got away sans-photos. (there’s 109 sub-folders, but some have more than one box in them.)

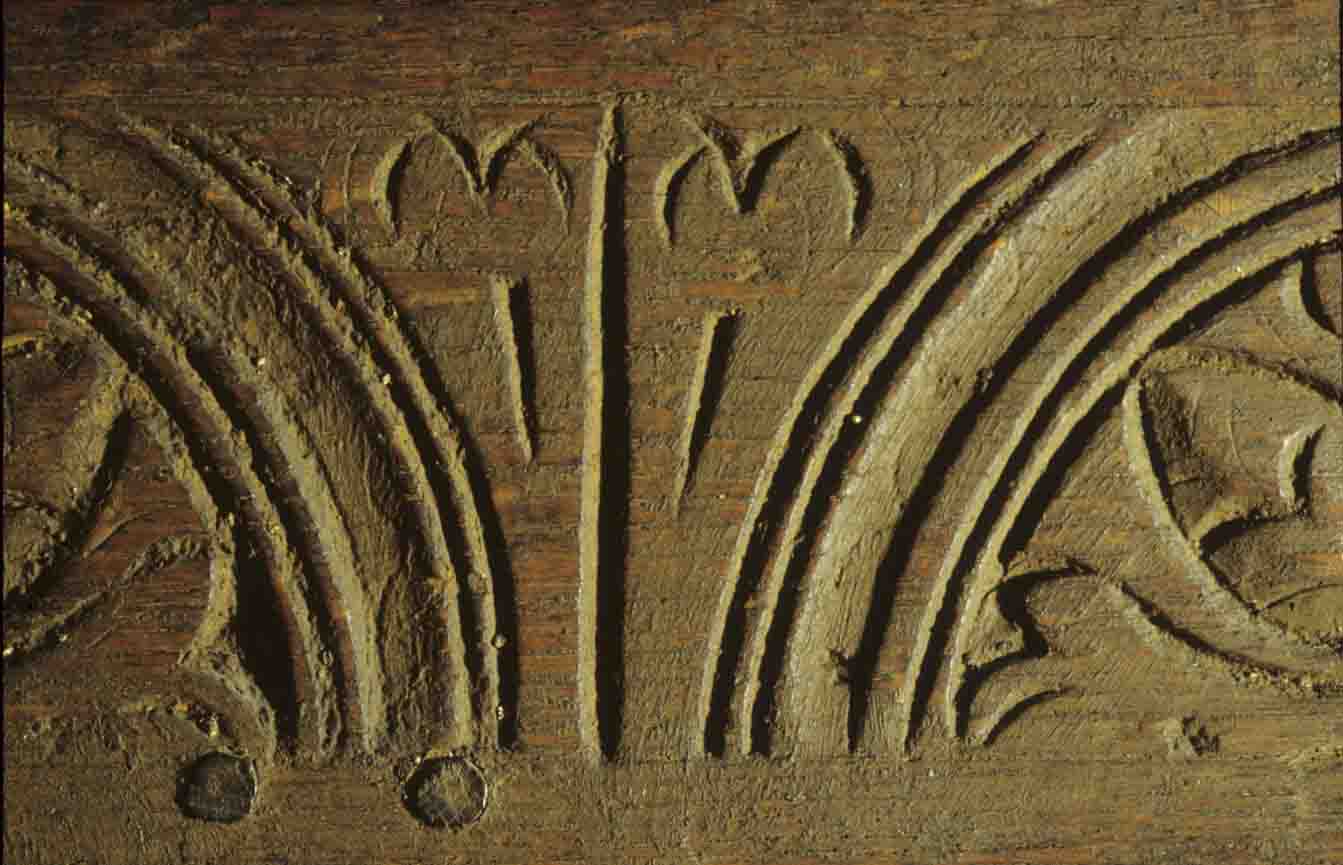
The carving above is copied from two boxes I’ve seen that were made in Braintree, Massachusetts c. 1660-1690. I have carved this design many times over the years. I tend to look closely at the originals as I learn a pattern, then once I feel I know it – I just go ahead and carve it. But I found out lately it’s good to go back & review the source material. Turns out I’ve done the layout wrong for ages.

I got it in my head that those inner arcs swept all the way out to the edges of the half-circle down at the bottom margin. (they mostly do on one other example) And often wondered why I had a hard time fitting all the detail inside the pattern! I fiddled around with the photo and a compass this morning – I’d go carve one but my tools are packed already. I used to strike a 45-degree line from the bottom center to locate the new centerpoint for the upside-down arcs. But now I think that centerpoint is not on a diagonal line, but just off it, tucked up under the top margin. Leaves more room inside.

possible layout

These joiners, William Savell and his sons John and William – always made lunettes with concave outlines – what Jennie Alexander called a “marble run.” But it never continued over the top of the design – it’s always broken. Here’s two examples, the front of a chest:

upper rail, joined chest c. 1660-1680

and the front of a box

carved box, John Savell 1642-1687

We often wondered where are the English examples that are the source for this work? The closest I have come is a tossed-off Instagram post showing something like their work – so a poor photo, grabbed from IG and cropped heavily. (I wrote to the antiques dealer whose photo it is & never heard back.)

But it has all the earmarks of the Savell/Braintree work –

  • Broken concave outline
  • Alternating upside-down/right-side-up V-shapes in that outline (seagulls)
  • Punched decoration – in the New England work a Maltese cross. Too indistinct to see here.
  • Alternating light & heavy chopped decoration with a gouge.

Many of these things happen in other 17th century carvings too, but combining them this way leads me to think there’s a connection. This detail from one of the New England chests shows some of those bullet points –

But the design between the lunettes on the English piece? What about that? It shows up on one of the New England chests – and a box too.

joined chest detail Smithsonian Institution

Well. It gives me something to think about while I drive from here to Lost Art Press. I’ll be making carvings of these lunettes as part of the joined chest I have underway – they’ll appear here on the blog and on the video series about the chest. But next post in both those places won’t be til the end of the first week of April.

a new chair

I was thinking about chair-making a lot lately, just had no time to do any. Now I do. First thing I did after cleaning the shop for 2 days was take this brettstuhl down from the loft and changed the outline of the seat. It used to look like this:

last year’s brettstuhl

That seat shape was pretty close to what Drew Langsner wrote about when I first learned of these chairs back in the mid-1980s. When I started building them in the past couple of years, I used that same shape at first. Then the more I saw of antique examples (online, not in person…) I decided I like this shape better:

that’s better

Then I went back to the chair I resumed work on the other day. An alternative to the chair above, this time with a 3-piece back.

chip carving

Yesterday I chopped the mortises in the seat board – starting with a brace & bit. These mortises are 7/8″ x 1 3/4″. I do them in 2 steps, first in the seat board, then in the battens.

ten degrees

Once those are chopped, I laid out the trenches for the battens. I saw and chisel most of this, then clean it up with a router plane. I pretty new tool to me. These battens were extras from making a couple of these chairs last spring, so beveled, not dovetailed on their edges. That means you can use the batten to guide the saw’s angle. If you’re careful. I do most of this sawing with the heel of the saw, teeth I rarely use.

white oak batten, butternut seat

Then knock out the waste.

bevel down

I use my large framing chisel to begin the cleanup.

it only reaches so far

I have done enough of these chairs now, and plan on more to warrant the addition of a router plane.

router, starting to get the hang of it

After I got the battens fitting & chopped the back’s mortises through those, I bored the mortises for the legs. These are 15/16″ diameter holes. Mine don’t exit through the seat – I made the legs a long time ago & the turned tenons weren’t long enough to do so.

boring leg mortises

I turned the now-dry tenons to their finished size, glued them & wedged them.

glued & wedged

Some more fussing with the back, more mortising & wedging of the tenons through the seat. here’s where it stands now – some trimming here & there to finish it off tomorrow.

butternut above hickory below

now what?

the cupboard is done. Photographing it for real tomorrow, with the proverbial help from my friends.

joined cupboard

Last week I posted a video in the joined chest series. In it, I said I rarely true up the bottoms of my wooden planes. They just don’t wear as much as you might think… – words to that effect anyway. And then the next day I was planing up some leftover oak – and knocked a chip out behind the iron! I never saw that before.

chipped behind the iron

I scribed a spot that would envelope the whole chip and using a chisel and router plane cut out a recess to take a patch. The router plane is maybe my newest tool – I’ve never used one until recently.

using a chisel to remove the bulk
router plane

I had a piece of dry maple hanging around so used that to patch it. Because my plane’s soles get pretty damp planing so much green wood, I used yellow glue to set it in place. Used it a bit the next day. Seems alright so far.

new patch

I’ve seen planes patched in front of the mouth and even done a couple. But I don’t ever recall seeing one patched behind the iron. Something new every day…

Back to what I was doing. Part of my work over the past few days has been sorting some of the oak bolts in the yard. I planed up these boards – just random sizes, depending on what the log sections would yield. Some of this will be box parts or panels – 7″-8″ wide by 24″ long. Other bits will be framing parts; 3 1/2″-5″ wide. This & that lengths. This coming week includes a big shop clean-up, at which time this batch (& more to come) will get stacked & stickered.

replenishing oak stock

Later I got out a chair I began months ago. At that point, I had made all of one piece – one of the uprights. So I made the other and the crest. Chopped the mortise & tenon joints and test fit them. Today I added some chip-carving. Butternut.

chair back

I forgot that I’m going to drawbore & pin these joints – right through these pinwheels. I’ll carve the pegs after I trim them…they’re soft enough in butternut. This chair is not going to be a copy of a specific chair. It’s based on some photos given to me and a small publication about German examples. I just don’t know what to call it – it’s not a brettstuhl (board chair) – and they’re German, Swiss, Italian, Austrian, French and more besides. I just know I like making them.

raking light by the window this morning

I’ll finish trimming the juncture between the upright & crest after pegging it.

chip carved detail

Here’s one of the pictures Chris Schwarz and his chair-mad friends gave me – this chair is part of the inspiration for what I’m making now…

1777 chair

the cupboard & the joined chest videos

Well, the cupboard is apart again.

in pieces

This time for linseed oil over the paint. I’m most of the way through this step, then some final touches here & there. Nothing significant. Then haul it out for photographs. Then haul it back until the customer comes to pick it up. 

a stack of drawers

It’s been an amazing project – the customer couldn’t have been better. I remember our first conversation, he told me 3 things. “The money is fine, I just want it done right, and I want it well-documented.” Four things – “ It doesn’t matter how long it takes.” Imagine that!

the door

Meanwhile, in between painting & oiling, I’ve been working on the video series about making the joined chest based on those from 17th-century Braintree, Massachusetts. I’ve just uploaded the next video, 1 hour 45 minutes on planing the riven green oak. What planes I use, how I orient the boards, a short section about sharpening & cleanup of the tools – even a bit about what happens if you use metal-bodied planes on green oak. 

planing green oak

That also led to a separate 30-minute video about how I cleanup & sharpen the planes – something I’ve almost never talked or written about. There’s nothing I do that’s earth-shattering about sharpening, but you do have to clean these planes after using the green wood, so it seemed like I had to address the subject. 

Here’s a trailer to show you some of what these videos look like. I shoot them myself, with 2 Nikon cameras. I’ve about caught up now with the clips I had before I launched the series, so from here on out the quality should only get better. Should is the key word…. 

Today is Monday March 7, on Wednesday March 9 the price for the series will go up from $85 to $100. The videos by themselves are $15 each. The link is vimeo.com/ondemand/follansbeejoinedchest 

waiting for some paint to dry

I’ve been doing a couple different things as I wait for this oil paint to dry on these pillars. This is the second coat, put on today. So these should be ready in 2 or 3 more days.

upper case pillars

I spent today planing oak panels for the joined chest project and shooting video about cleanup & sharpening of the wooden planes after working green oak.

newly ground bevel on smooth plane

I hate talking about sharpening, but it has to happen. In for a penny, in for a pound – when I get to editing the video from today about sharpening I’ll write a blog post for here too. I’ve never done one in all these years. Maybe bits & pieces, but not a full-blown discussion of what I do.

The video clips will be for the joined chest series I started last month. Yesterday was going to be the day I upped the price, but I’ll keep the introductory price ($85 – about to be $100) for the rest of this week anyway. I’m finishing up the next video, which is the beginning of planing the riven pieces into chest parts. I plan on posting it on the weekend. If you’d like to know more about the video series, here’s the post where I introduced it. https://pfollansbee.wordpress.com/2022/02/07/joined-chest-video-series/

most of 2021’s carvings

Last year was probably the least amount of oak carvings I’ve done since 1994. That photo above is easily 90% of the output for the year! I have my first carved box class in 2 years coming up the end of March. So I’ve got to get practicing. I carved this one yesterday –

back at carving

but totally ruined the first attempt, then planed it off & carved this. Not terrible, but not great either.

I will get back to the Youtube videos that accompany the carving drawings – I have several more to do for the 2nd set of drawings. Those all got interrupted by the cupboard. I see that at least one of the carvings above was done as a video/drawing. https://pfollansbee.wordpress.com/carving-drawings-17th-century-work-from-devon-england-and-ipswich-massachusetts-set-1/

Tulip pattern drawing
tulip pattern as a box front

The class I mentioned is at Lost Art Press – and is one of only two classes I have scheduled for 2022. The other is a JA chair class at Pete Galbert’s in April. When I figure out if and where I’m adding more, I’ll be sure to post about it here first. I want to see how these two go first, then take it from there.

Sometime recently I dug out this old sackback of mine to repair it. I made it in 1989 and used it for years & years. Its form is from Curtis Buchanan’s sackback, which is from Dave Sawyer’s – but I shaved the legs, stretchers and arm posts instead of turning them. A mish-mash of woods – tulip poplar seat, ash arm, hickory spindles, white oak bow and cherry for the understructure & arm posts.

old PF sackback

Over time the spindles poked through the bow – they must not have been dry enough at assembly. So I knocked them about some, split them with a chisel & drove in new wedges. Then trimmed them flush with the bow.

double wedges

A bigger problem was a break in the back of the arm. It hadn’t popped apart but threatened to. I had seen old Windsors with braces attached outside fractured bends – so figured I had nothing to lose. Scrounged up in the loft for something I could cobble together. Raided some cheap hardware-store hinge, a bit of hacksaw work (I like it less than sharpening…) and two screws. Not beautiful, but you can’t see it when you sit in the chair.

not hidden at all