Next birds will be western US birds.

Next wood will be Alaskan Yellow Cedar.

travel day today, tomorrow begins my Alaska jaunt.
Next birds will be western US birds.
Next wood will be Alaskan Yellow Cedar.
travel day today, tomorrow begins my Alaska jaunt.

These days, I tend to be out ahead of myself a bit. While teaching the chest class in Connecticut a week or so ago, I was thinking of preparing the next class(es), in Alaska. Those are coming right up (still room) and while I’m planning, preparing & packing for that, I’m thinking ahead to a spoon class at Lie-Nielsen and then the video shoot after it. Those are in early May, so right in time for spring migration in Maine.
THEN – comes the next of my offerings with my friends in Plymouth CRAFT. Rick McKee and I are teaming up to show how to split apart logs for various projects. http://plymouthcraft.org/?tribe_events=splitting-a-log-into-boards This is a technique class, not a project. Rick has rived many thousands of clapboards over the years,and numerous other oak materials. We’ll look at how to “read” the log, what to look for, and what to look out for. Use of the wedges, mauls, froe & club – the riving brakes. It should be great. This is a one-day class, hosted at the Harlow Old Fort House, near downtown Plymouth Massachusetts. A rare chance to get together with Rick, you could even end up on one of his memorable blog posts at Blue Oak. https://blueoakblog.wordpress.com/

I’m off tomorrow to scout out some wood for this class. If I find a suitable ash log, I might add splint pounding to the lineup. That’s more fun than you can stand.
The Plymouth CRAFT scene usually is a multi-ring circus,and this one’s no exception. While we’re busting logs open, Charlotte Russell and Denise Lebica will be teaching drop-spinning.
“In this class, you will learn to use a simple tool — the drop-spindle — to convert fiber into yarn. Spinning is at the foundation of most of the textile arts. The ancient, inexpensive, portable, drop-spindle allows you to spin almost anywhere.
This workshop with long-time spinner and teacher Charlotte Russell will focus on developing a feel for creating quality yarn, and will feature hands-on evaluation of fibers such as wool, alpaca, flax, cotton, angora, quiviut and silk. Participants will gain an understanding of which of the various types of spindles are appropriate to spin which fiber.” – whole story here: http://plymouthcraft.org/?tribe_events=spinning-fiber-into-yarn

for me, having other classes under the same umbrella adds a lot to the fun, it’s great being surrounded by more crafty people and we usually have some time to spend seeing what the other half is up to…it’s sure to be interesting. Come join us, Rick & I will bring the tools & wood, you just come show up. the lunch alone is worth it.
Even sooner than that is a weekend class that I wish I was taking – make a wood-fired oven with Paula Marcoux. http://plymouthcraft.org/?tribe_events=build-an-earthen-oven Paula knows ovens like I know oak. Coming right up, May 2 & 3, 2015. This will be a life-changing class – really.

As promised – fitting a wooden hinge on a cupboard door. Again, I think I’ve never covered this on the blog. Here’s the cupboard, sans door: note the rabbet in the muntin beside the door opening.

To hinge this door with wooden pins is easy. Bore holes in the upper and lower rails’ inside edges. Here’s the top rail – I haven’t finished pinning the joints in the frame, but ignore that. See the hole bored in the upper rail’s lower edge:

Corresponding hole in the upper edge of the door, note bevels on outer corners of door stile:

The wooden pin on the top of the door bottoms out in the stile, and protrudes up into the upper rail. Here it is in the stile:

here’s the bottom edge of the door – note the pin here fits (loosely) all the way up into the stile:

With my finger covering the hole in the bottom of the door, I tilt the upper pin in place, and then lean the door into its opening.

Then knock it about some with a hammer, to jar the pin loose so it drops down into the bottom rail.

The hole in the bottom rail is shallow, so the pin bottoms out in the rail and sticks up into the door’s hole –

I planed a rabbet in the door’s other stile, to overlap the rabbet in the frame. This stops the door from going all the way into the cupboard. You can (& I have sometimes) make rabbets on the hinge stile too – so the door is a little more snug = this one just butts up against the muntin.
door knob, couple of pins, linseed oil & this one’s crossed off.
Saw this guy this AM on my walk –

Last weekend was the 2nd session (of 5) of the joined chest class I’m teaching at Connecticut Valley School of Woodworking. These guys are working pretty hard…here’s pictures and captions –


The 2nd day we met at the yard where we’ve been splitting the logs into parts. Time for the students to do some heavy work.


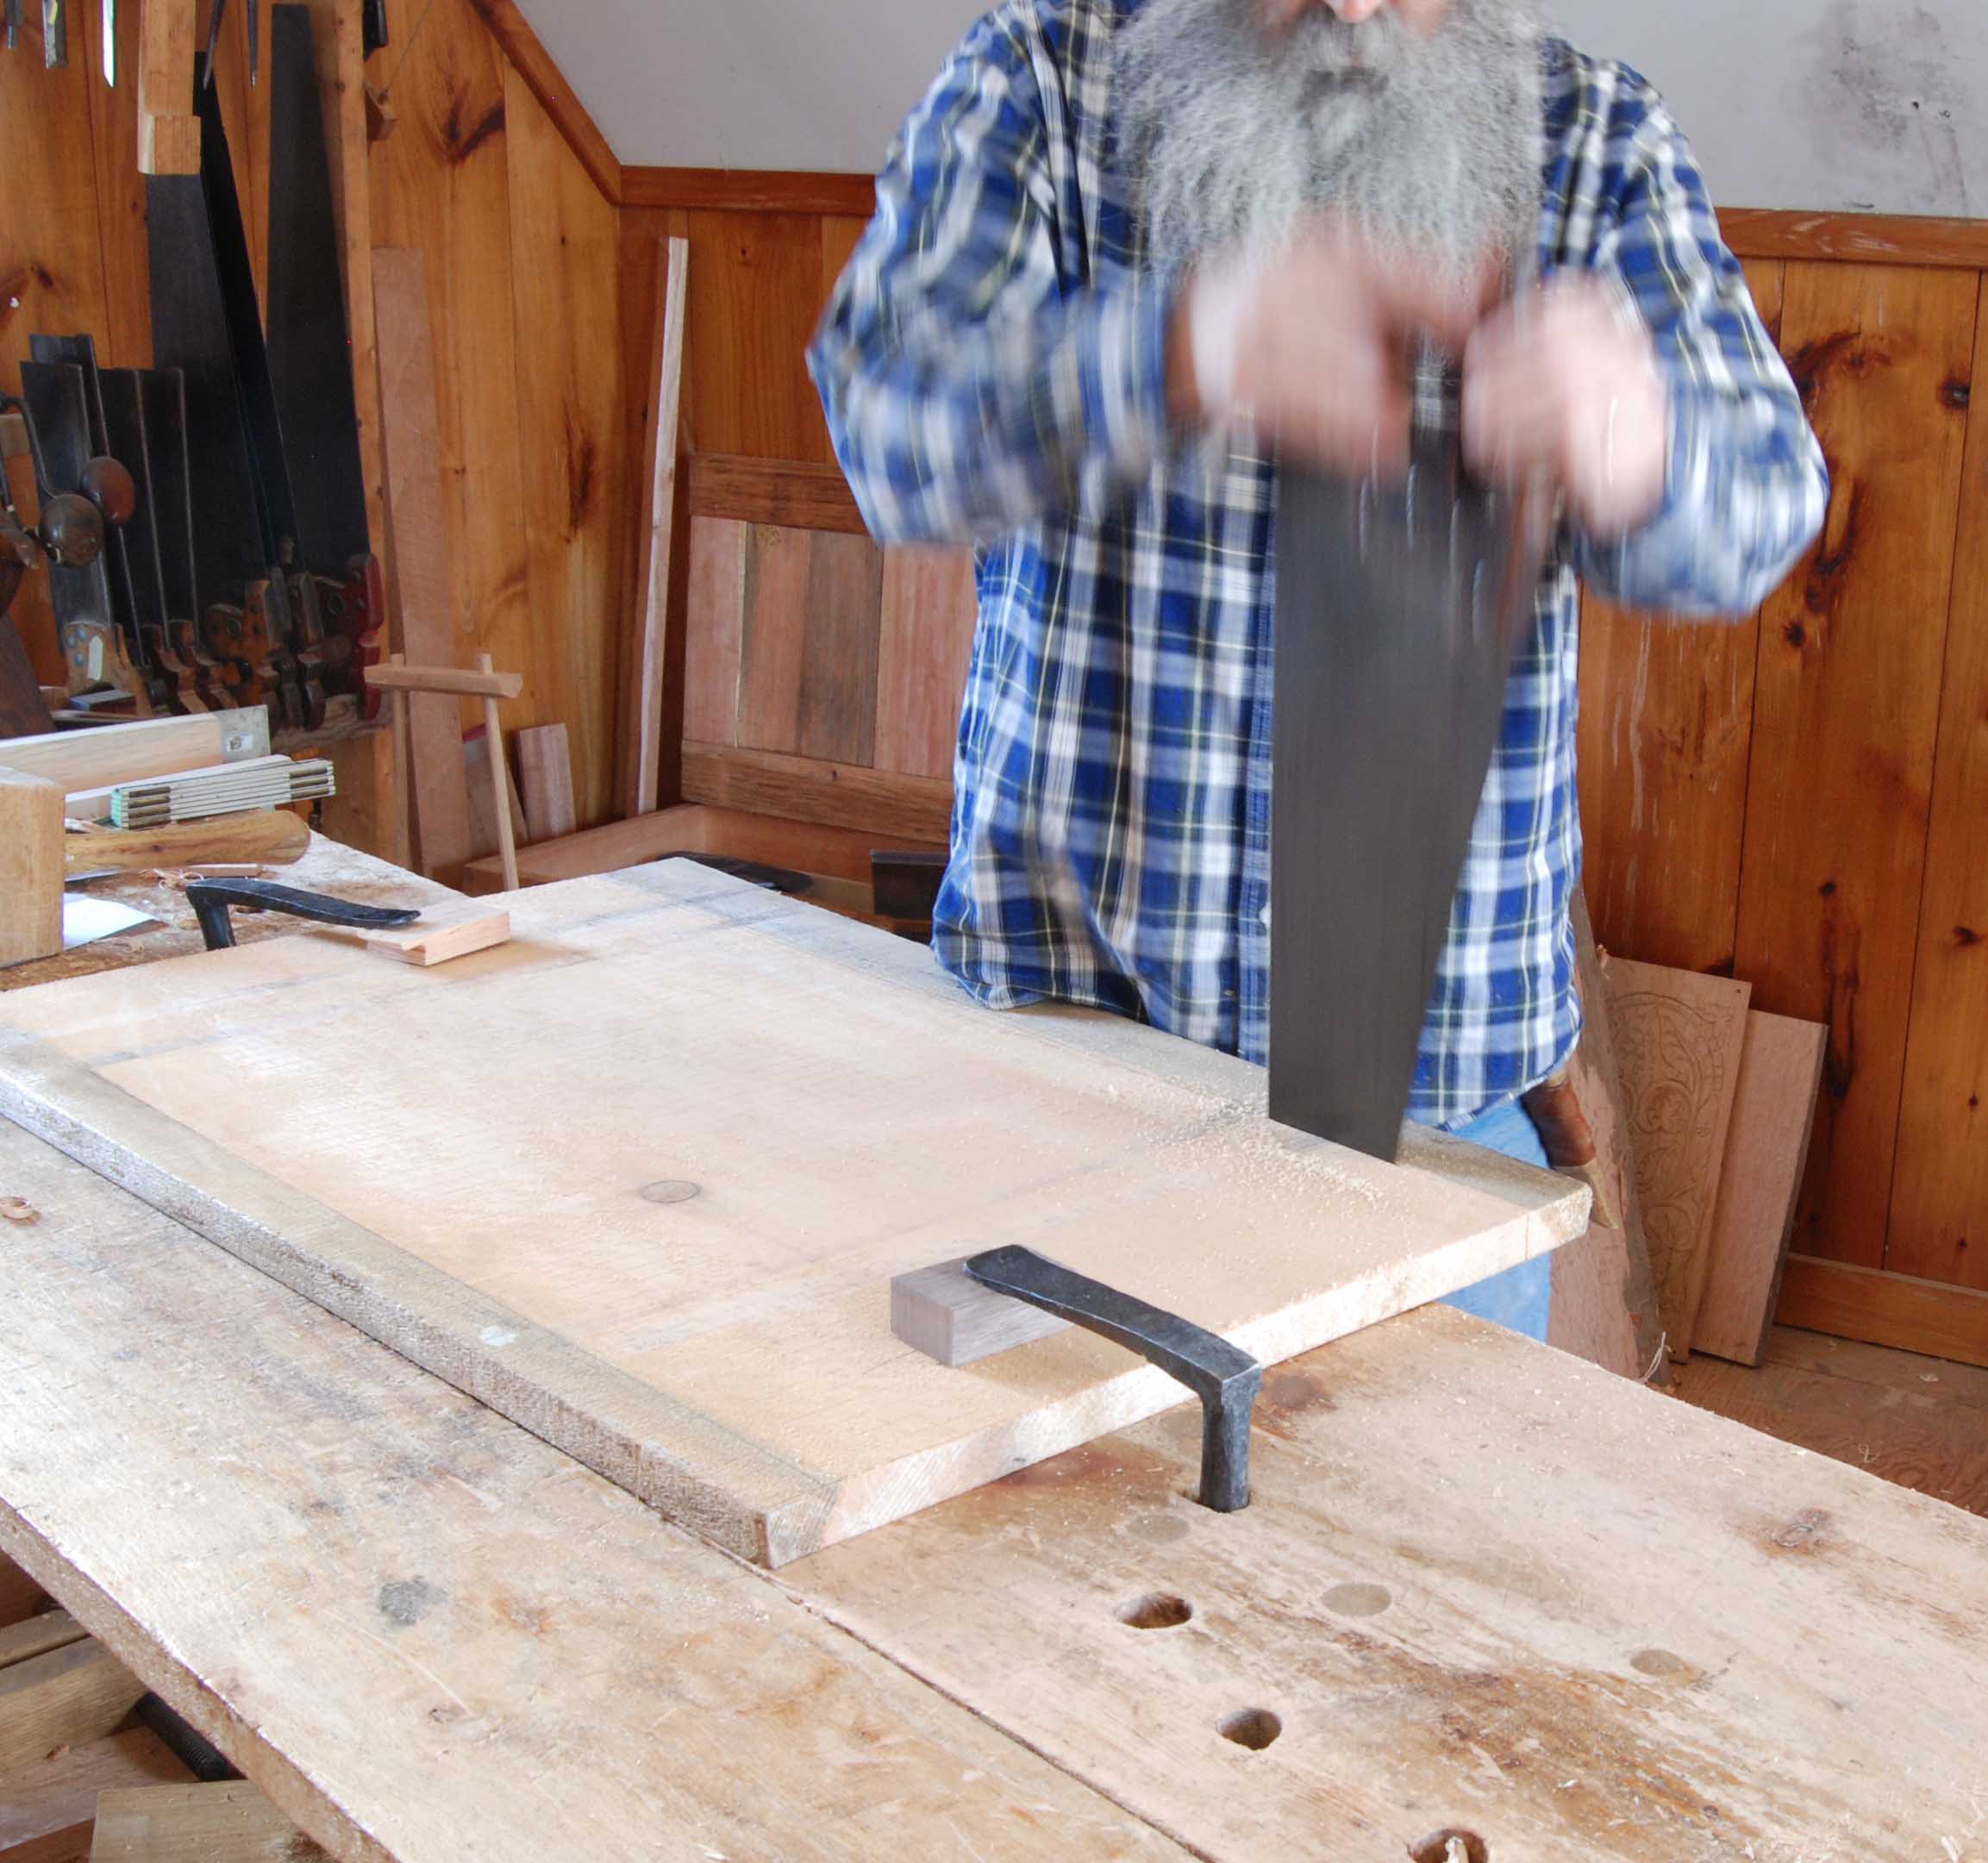
This weekend we worked on the joined chest project at Connecticut Valley School of Woodworking. I’ll write a post about it tomorrow, but in the aftermath of that weekend, I had a few wide oak panels to rive out for planing this week. As they were busted from the log, they were grossly thick for one panel, but most were too thin at the inside edge for two. This calls for some tricky froe-work.
these bolts were 22″ long or so. and in this photo, just over 13″ wide. This one was thick enough to split in two, one panel might come out just narrower than 12″ = once I hew & plane them, they’ll be in the range of 3/4″ thick.

The others weren’t quite the same original thickness, so I had to split them off-center. This gets one wide panel, and one narrower panel. It saves wood, saves hewing, and is all-around well worth it. When it works. Below you see I’ve driven the froe in parallel to the wide face, but it doesn’t reach all the way to the inner edge. To split successfully this way requires the straightest grain, and most agreeable oak. This inner, narrow panel will finish about 6″ or 7″ wide.

Here’s a detail of how the two panels lie in the oak:

I did about four of them this afternoon, while unpacking the car & tools from the weekend. Here’s a detail showing a 14″ panel and its 12″ neighbor.

Once I drive the froe into the split, I jam the bolt in the riving brake – I wouldn’t like to attempt this without one. When it goes right, you hear a SNAP when the froe is twisted and the oak breaks free. I’d only try this on short lengths in these widths.

Earlier in the day, look who I found – the redtail hawk from the other day:

If we hadn’t seen him drop down to the ground, we’d never have found him among the beat-down grass –

He caught something there, and we watched him for a while. Then decided to leave him to his brunch… (or her…we don’t know. It is a good size bird, might be female…doesn’t really matter, to me anyway.)

Later, a kestrel, lousy photo though. Can’t get anywhere near them.

ditto for a bluebird.

But almost every year about this time, I photograph & post a picture of a snipe. Usually I pair it with photos of the hinges I use for boxes and chests. https://pfollansbee.wordpress.com/2011/12/14/setting-gimmals-you-might-know-them-as-snipe-bills/ (Ahh, that post was from Dec, but I found photos of snipe from April 5, 2013. everything is late this year)
Maureen found this one (then a 2nd one) right in front of us in the blind at the Audubon place where we were walking…
One snipe.

Two snipes. they blend in more than the hawk did.


New DVD from Lie-Nielsen – showing how I carve wooden spoons. Knife, hatchet, hook knife – fresh hardwoods. All fun stuff. Details here:
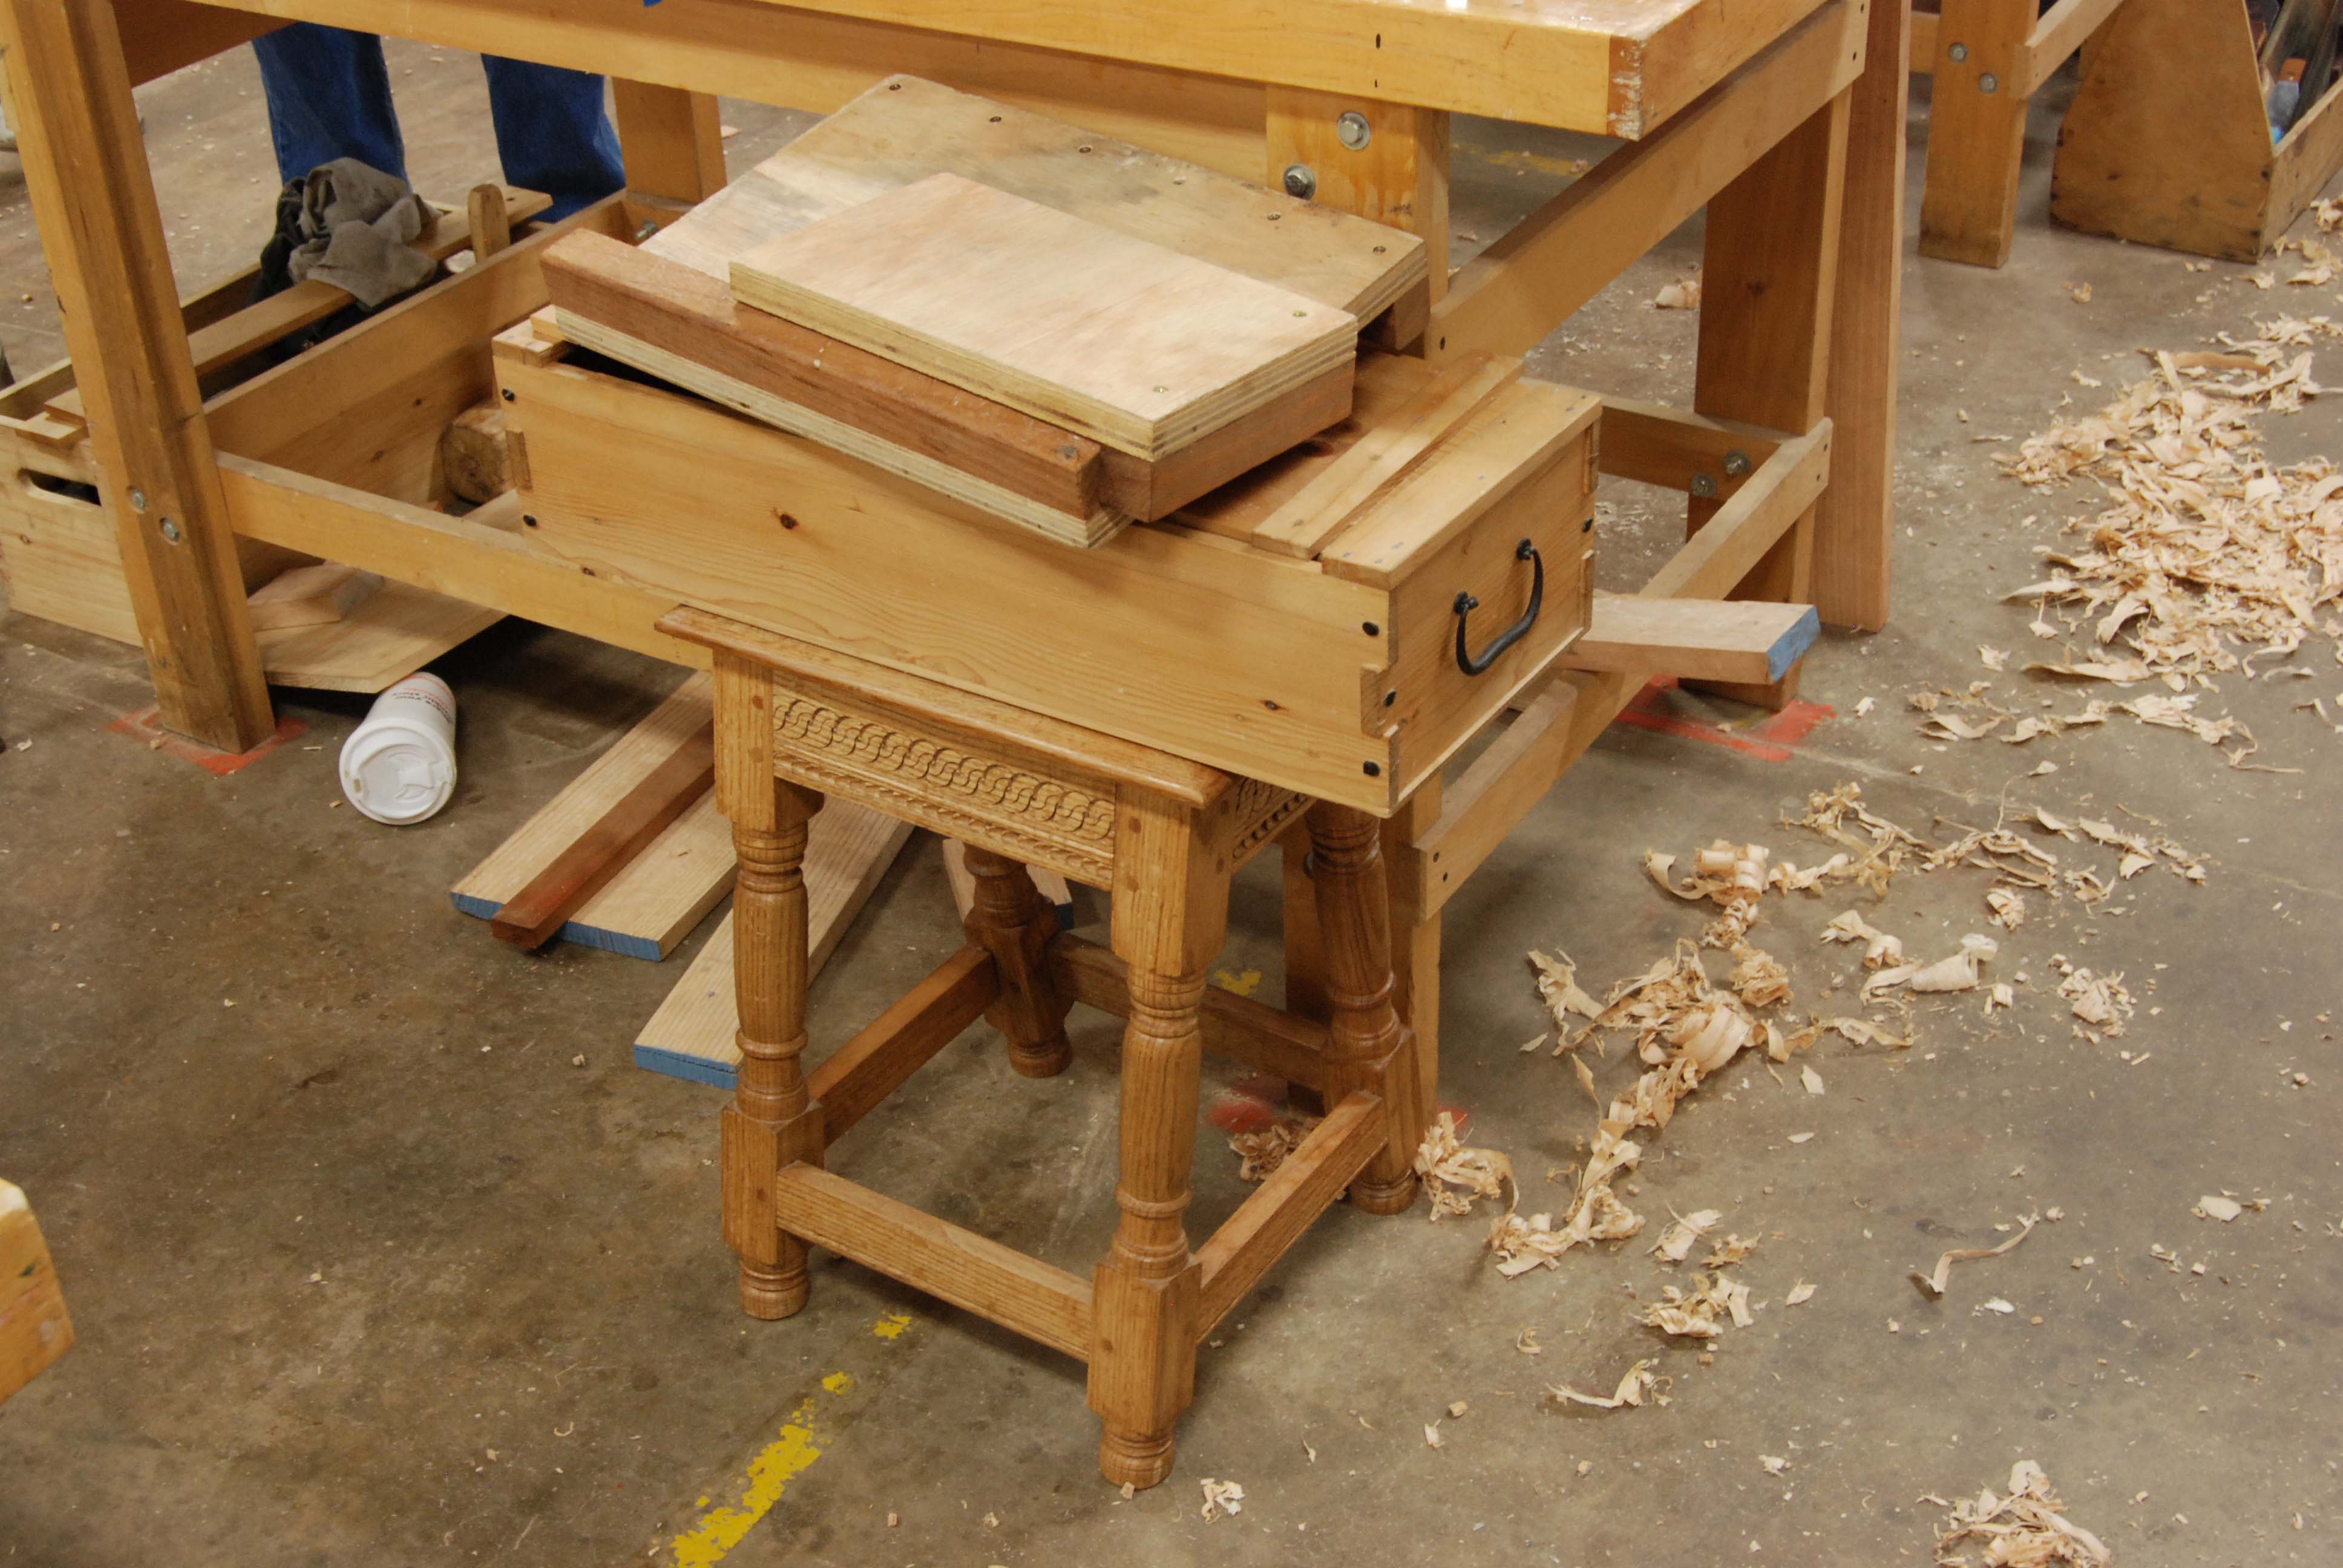
Often when choosing a subject for the blog, I sound like a broken record (we can use that expression now, because people are using vinyl again) – spoons, carved oak, chests, boxes, chairs. Birds. After 7 years, it’s pretty rare when I have a woodworking project that I haven’t covered before on the blog. I tend to make the same things over & over. Mostly. But I know I haven’t made one of these cupboards in all that time, so here goes nothing. These are simple affairs; a combination of a carcass like a six-board chest, but with a joined front. Here’s one I did 12 years ago, when we worked on PBS’ Colonial House.

For the new one, I had worked the oak frame up last week, then took it to the shop to saw out & fit the pine ends, shelves and back. I have some nice wide pine boards to use, here I’m ripping the sapwood off, to bring it down to 18″ wide. I tend to do ripping like this, at the workbench, upright. 2 hands. Easy to see my line this way, and I like not being hunched over.
then I marked out the cut-outs for the feet. These are just based on looking at several board chests, but aren’t specific copies of any one foot pattern.

The resulting end board.

This photo goes backwards in time; I’m rabbeting the inside face of the front stile, to insert the edge of the end board.  This cupboard will have a central door, opening on wooden pintle hinges. Here’s the mortise for a muntin; and to the left of it, a hole bored for the pintle the door will swing on. To the right, a panel groove.

The other muntin with a rabbet planed in it, to stop the door from swinging into the cupboard.

I cut notches in the inside faces of the ends, for shelves at the bottom & halfway up the height of the cupboard. I rarely make these, so don’t have a router plane. I just make two saw kerfs, and pare out between them with a chisel. You can see I lean the chisel this way & that, to come down to the saw kerf, then I’ll remove the peaked middle. Not as neat as a router plane…

Here’s the cupboard front and one end leaning side by side while I worked on the other end.

Then I bored pilot holes, and nailed the front to the edges of the ends. You can either assemble the front frame around the door, or insert the door afterwards. Because I haven’t made the door yet, I chose option B. All in all, a little bit of joinery, a few rabbets, and a bunch of stout nails.

Later today I got the shelves in, and cut out the board for the top. I’ve had to change the way the back will fit, because I cut one shelf 1″ too short! So had to switch some stock around. I had zero extra pine boards. Friday and next week I’ll finish this up & show you what happened.
