The other is a new vimeo-on-demand series that I just posted about making an “alpine” chair, or “Brettstuhl” – I’ve made about 8 of them in the past 3 or 4 years and they’re a chair that I really enjoy learning about. The video is about 3 1/2 hours long, with one more section (about carving) to be posted within the next 2 weeks. The price is $50 – subscribers to my substack blog get 20% off – if that means anything to you…
a trailer for the series:
Here’s a 4-page PDF showing some of the geometry and other details – not plans, but some pertinent information. This is here whether you buy the series or not – because I can’t be bothered to figure out any other way!
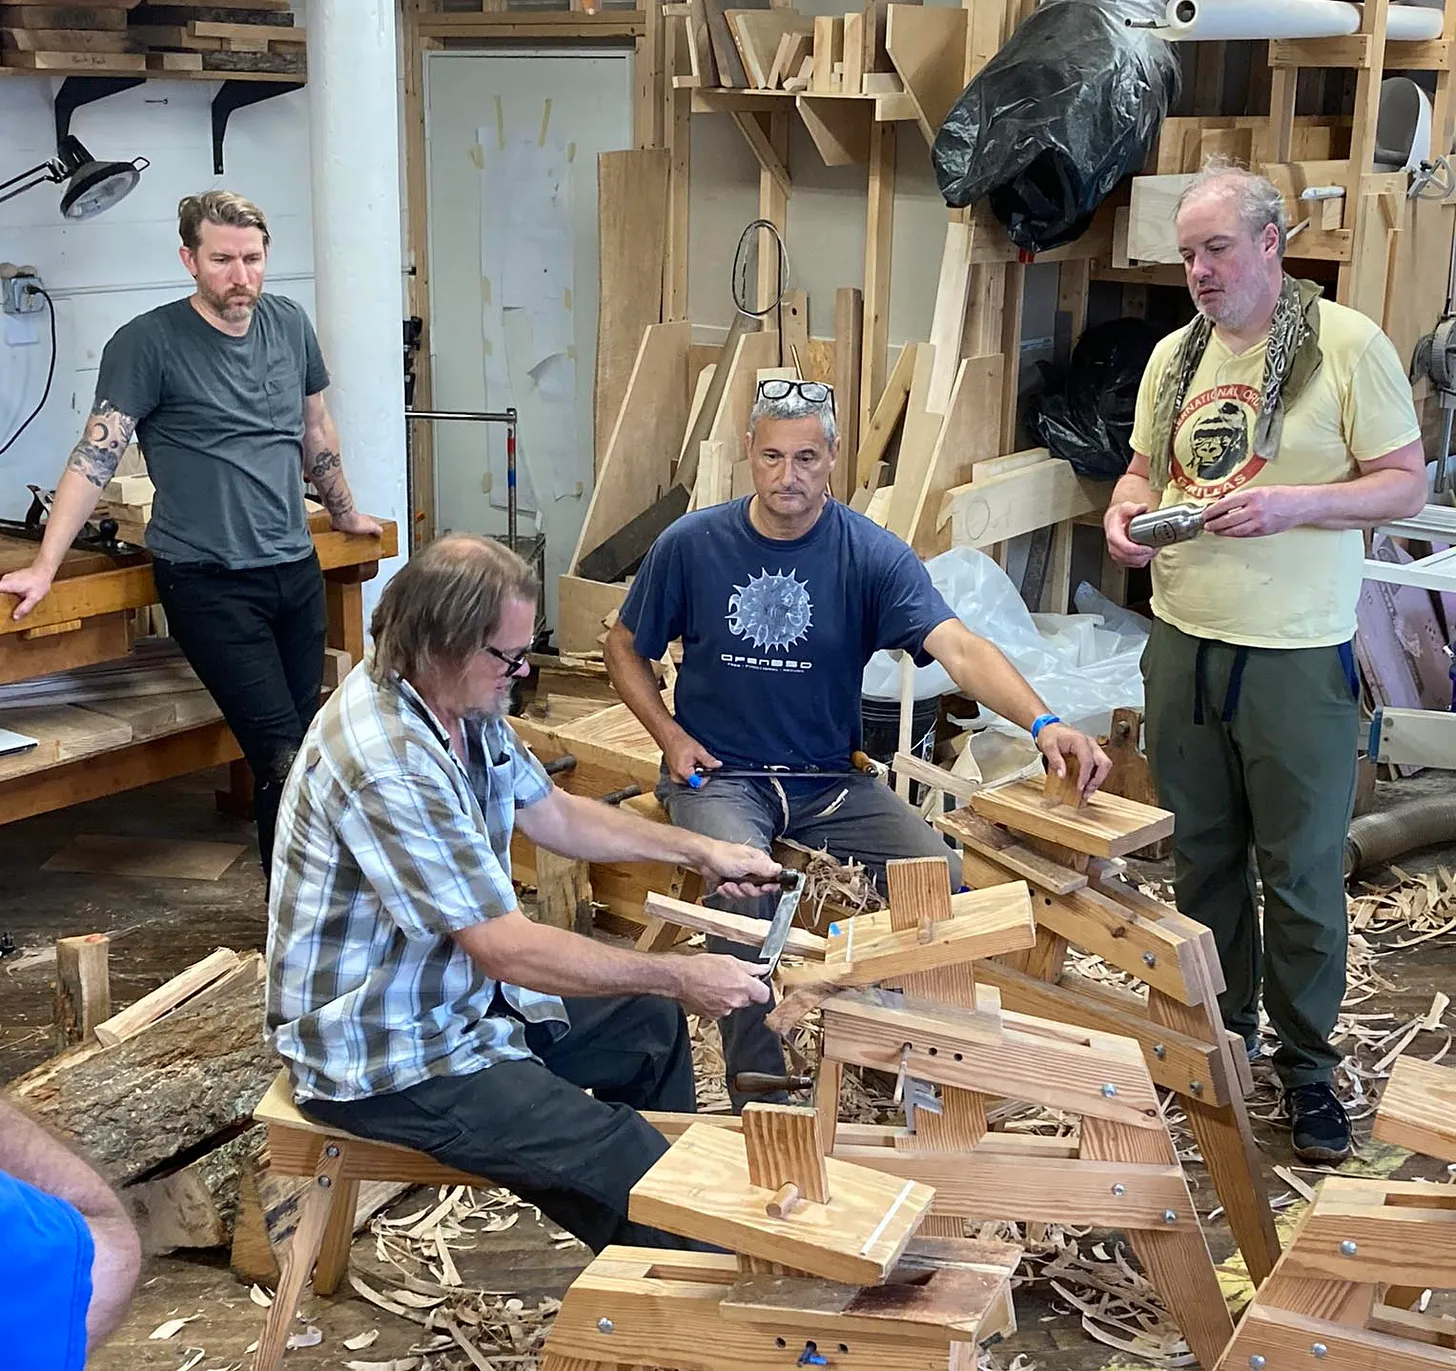
April 8-13 Joel Paul and I are teaching a class in making the Jennie Alexander chair at Pete Galbert’s shop in Rollinsford NH – and we have a late opening due to someone having to drop out.
The class runs through all the steps in building this chair. Starting with splitting the parts from a green log, learning about shaving them to size/shape, etc – then working with carefully-dried material cutting the joints – boring mortises, shaving tenons. Assembly in stages; sides first, then the whole frame. Riving and shaving slats then steambending and installing them. Some students usually have time to weave their seats – otherwise, we do the seat-weaving as a demo.
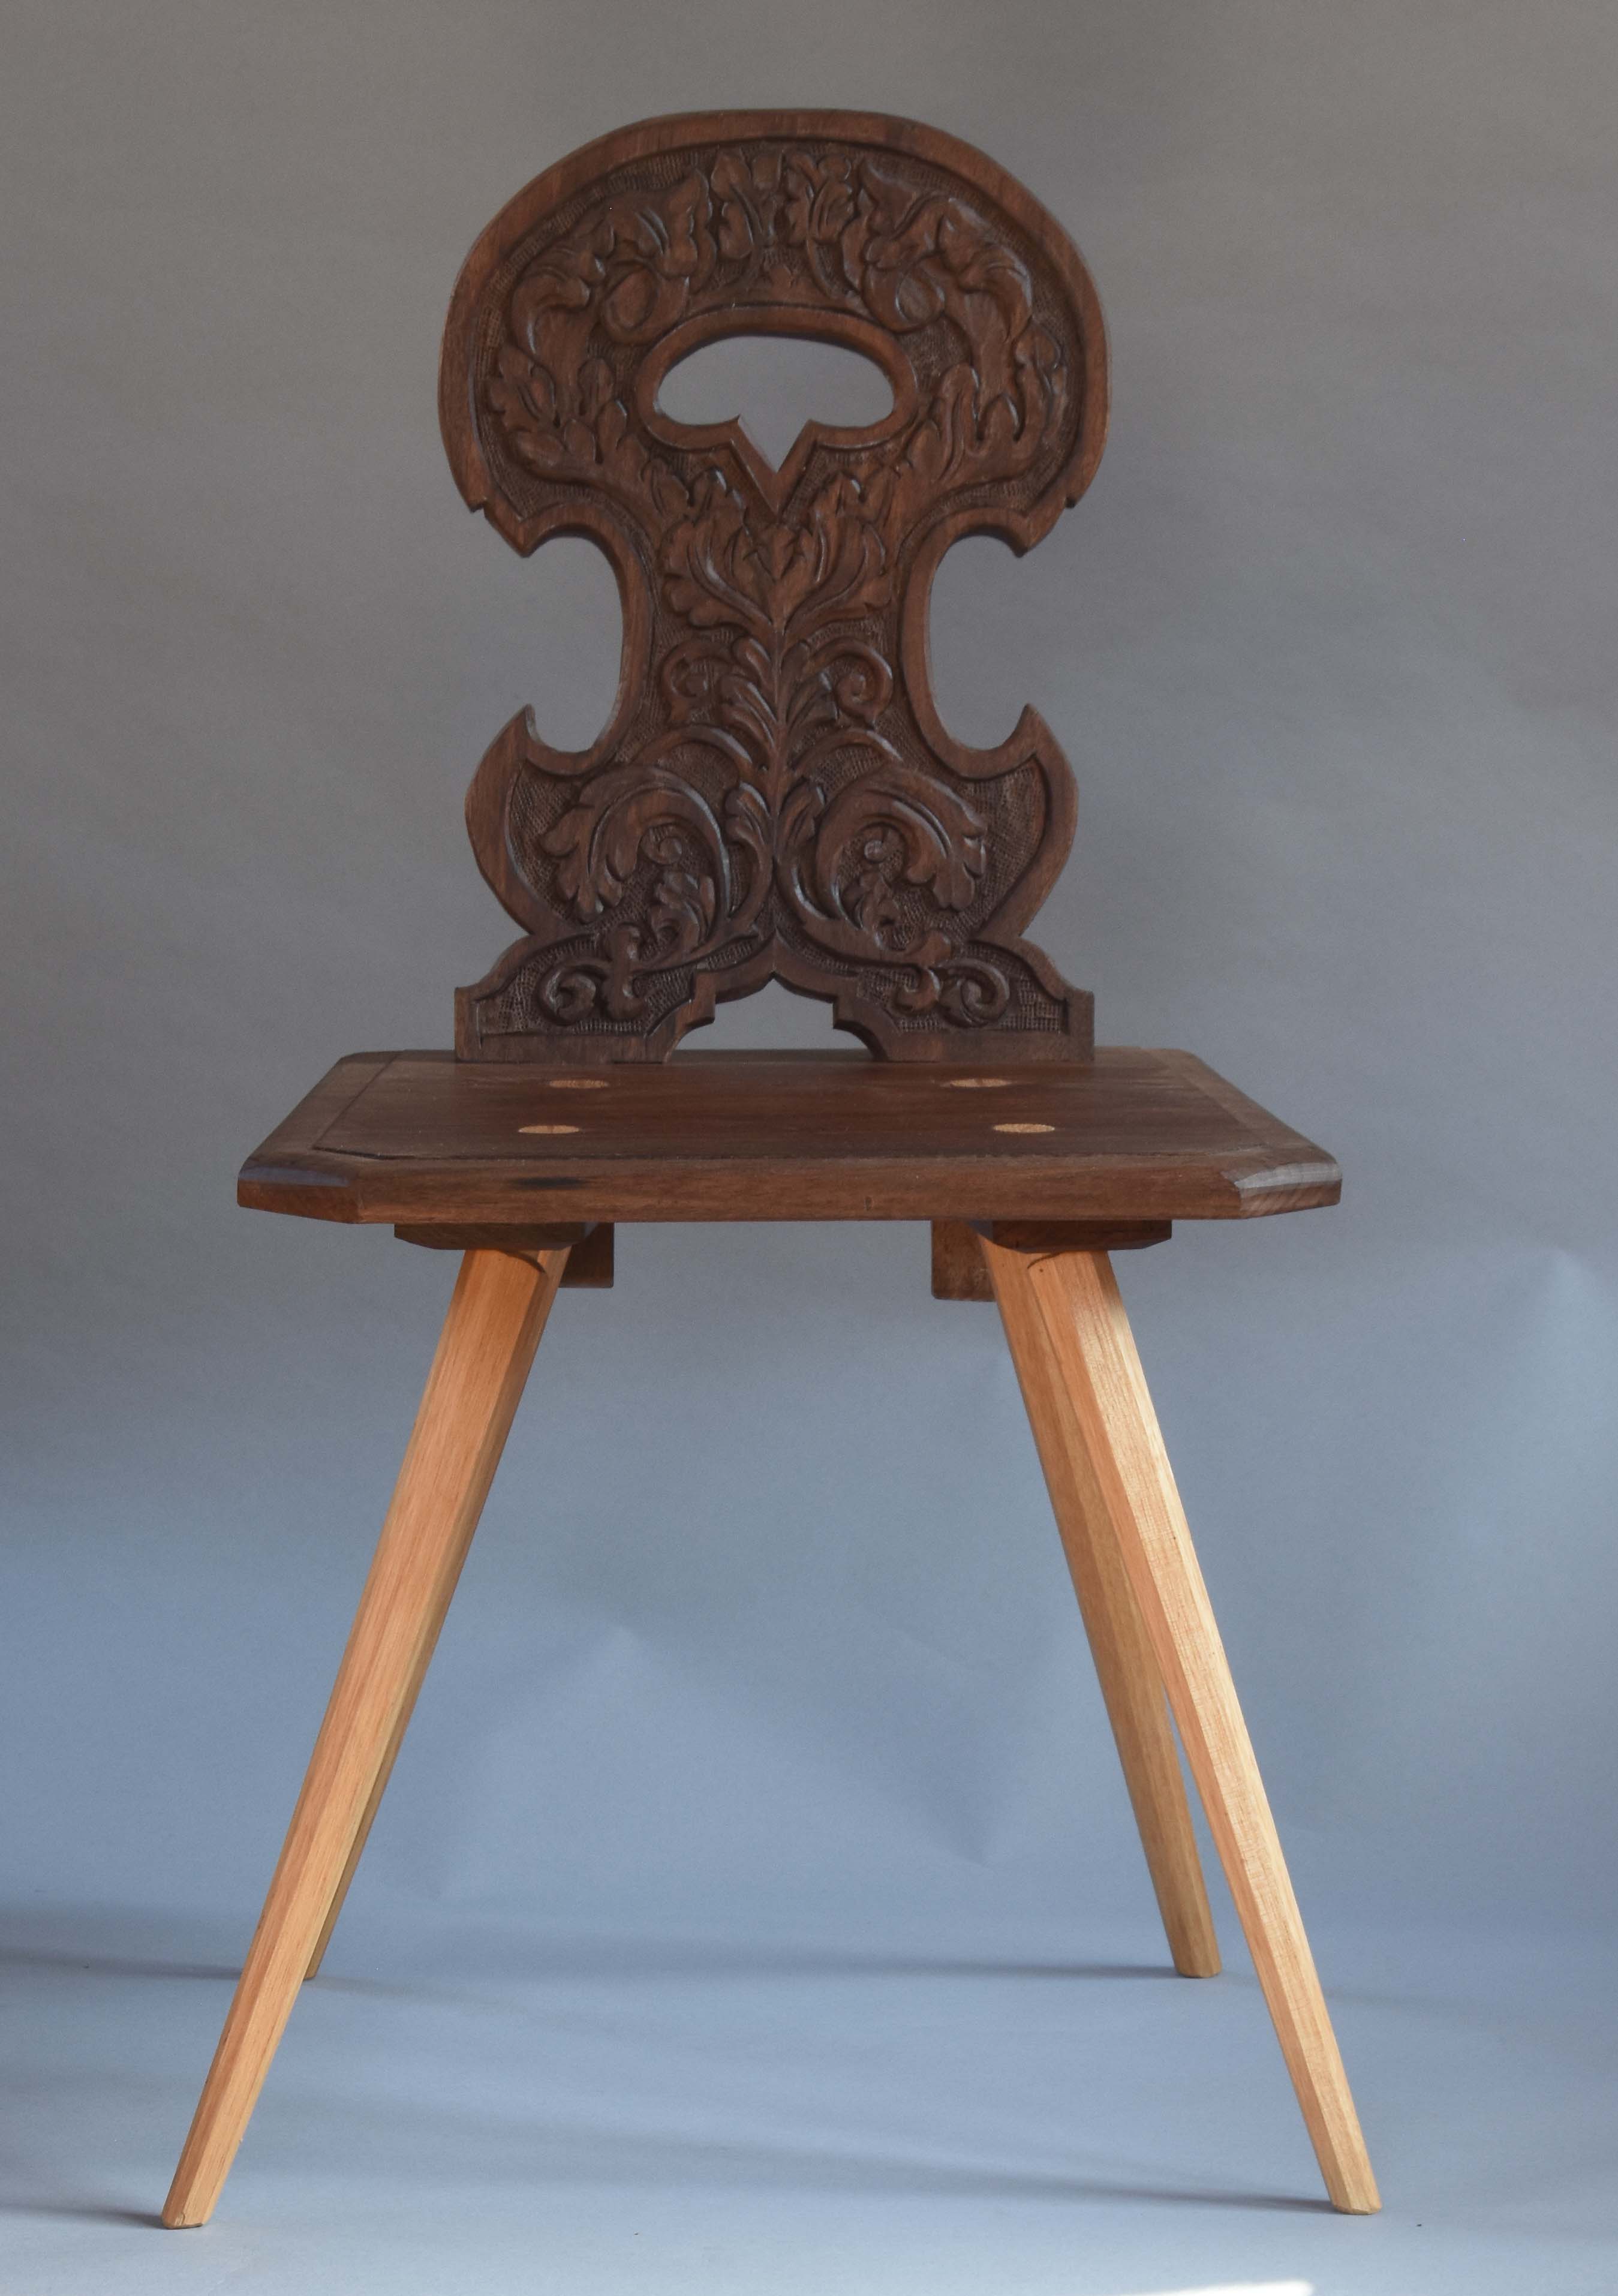
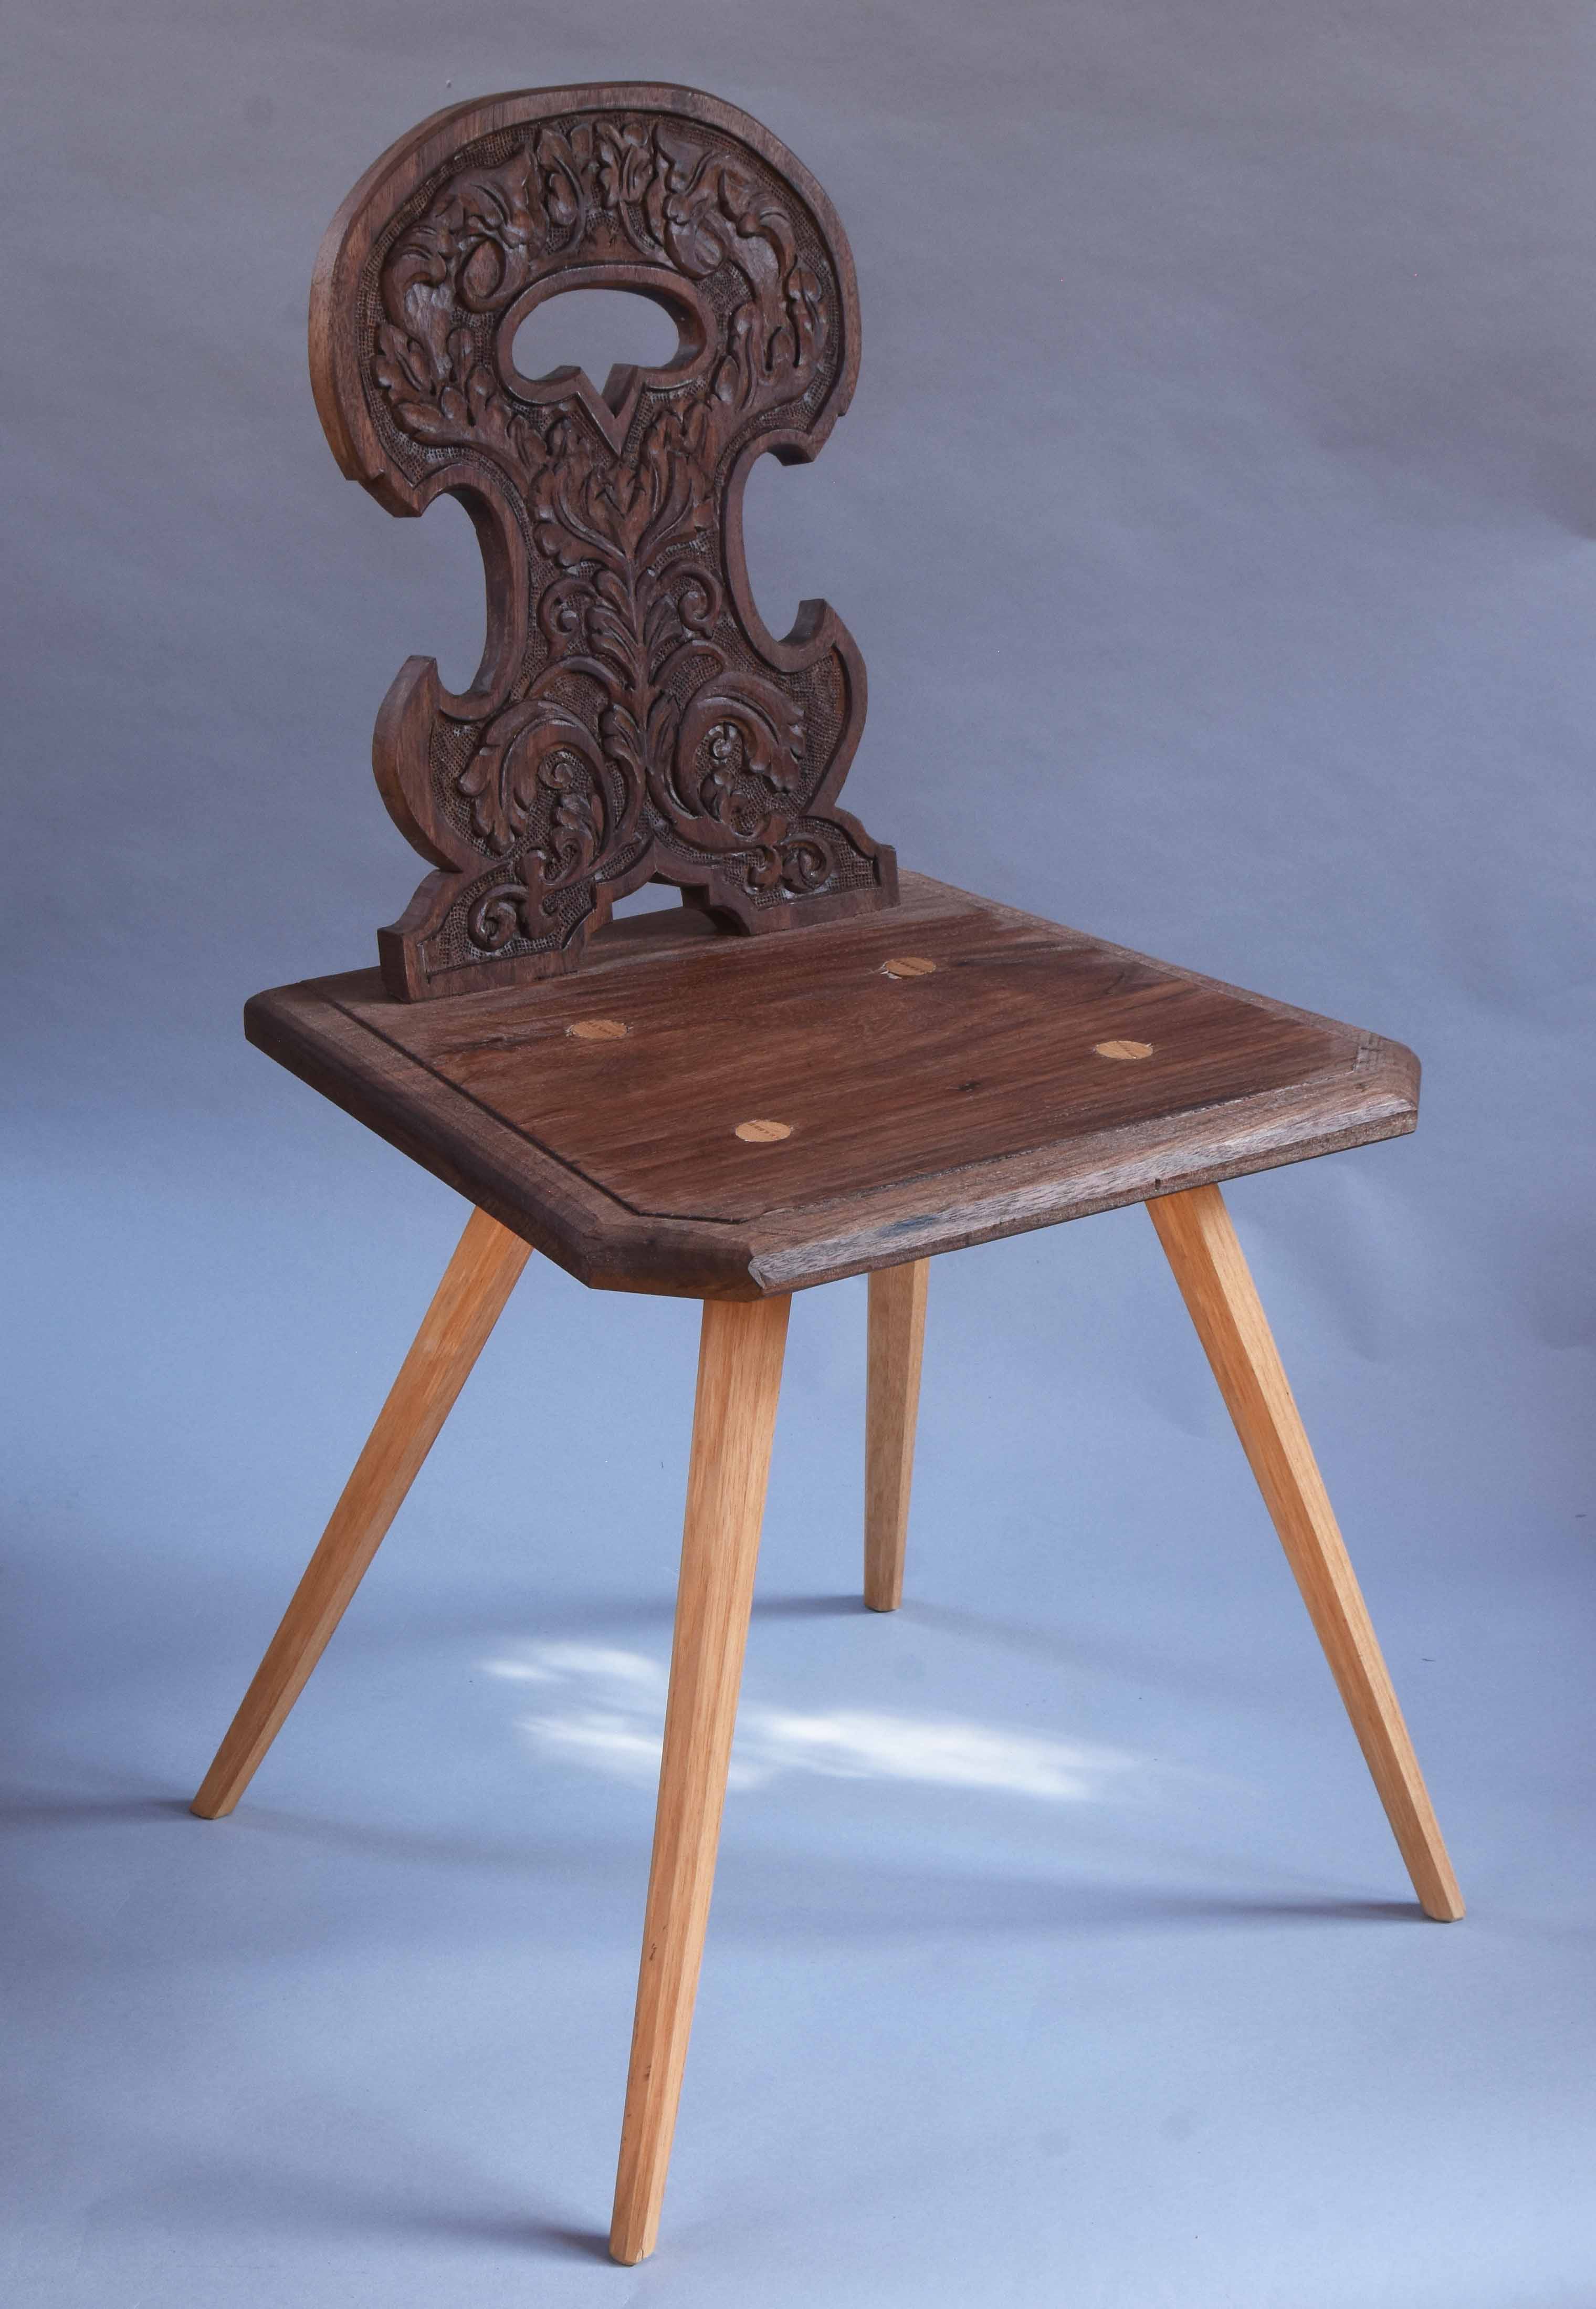
The other chair item for today is one I have for sale – not a JA chair (I’m starting some of those this coming week) – but one of my German/Swiss-style brettstuhls – I finished this one last week and am on the finishing touches of the video showing how I made it –
PF brettstuhl, Feb 2024. Walnut & hickory
Height overall is 32 3/4” and seat height is 17 1/4”. The width across the front of the seat is 17 3/4”, overall seat depth is 15 1/2” and the part you actually sit on is 13 1/4”. Price is $1,800 including shipping in US. I’ll box it up with the back removed – so some simple assembly required. Put the back in its mortises, and tap in two wedges. Photo/video instructions included. You must be able to count to two. If you’re interested in purchasing the chair email me at Peterfollansbee7@gmail.com
I’ve been up to Pete Galbert’s place to re-learn how to make a WIndsor chair – while I was there I saw Joel Paul ( https://www.instagram.com/13starsfarm/?hl=en ) and he kindly gave me an original A.J. Wilkinson catalog from the 1870s. It’s astounding what they carried then. My idea of nothing is to go shopping, but if I could shop at Wilkinson’s of that day, I’d do it in a hurry.
How about the “old reliable”? I don’t know how old this pattern of brace is – one website says that John Fray got a patent for his brace about 1859 – but the early ones are all-iron – the wooden inserts came a little later. And yet in the 1870s someone writing for Wilkinson’s catalog came up with “old reliable” – that’s marketing for you. The Spofford brace was one of Jennie Alexander’s favorites – I have 2 that came from her. Curtis Buchanan famously talks about JA giving him one and I have a letter from Dave Sawyer thanking Alexander for sending him one. JA liked them so much she made sure her friends had them too…
Spofford brace
Every page has something good on it – whether you like planes, saws, braces, etc – after seeing the Spofford brace – it needs bits. Which brings up another Jennie Alexander favorite – what she called “piercer” bits – after Joseph Moxon (& other 17th-century sources.) I had heard “pod” bit before but have never been clear on how it’s a pod – and we used to think that some of the bits we run across today have been altered, eventually pointing the end like what this catalog calls “spoon” bits. I expected the top bit (the “pod” bit) to be considered a small spoon bit – shows you what I know.
I always called them “piercers”
Probably every user of old tools sooner or later falls partway or more into collector-mode, buying tools they don’t really need. And then ephemera like these old tool catalogs only throw gasoline on a fire like that. I try to avoid that temptation, but sometimes fail. There’s worse ways to spend money I guess. I’ve written before about why I sometimes buy tools marked A.J. Wilkinson – (my father worked there) but I don’t go all-out. I’ve seen some very nice planes of theirs go for lots of money – we all have limits. I’ve had several of their folding-handle drawknives – I might even own two of them currently. I wish they were better than they are – imagine if they lived up to the hype in the catalog: “We have at last a perfect Draw Knife…”
I see they also sold Kimball’s drawknives which are actually very good knives. I’ve got a few of the saws they sold, some marked “Disston” some not. All have the Wilkinson name, some the address as well. One I have is marked “between State Street & Dock Square” and when I showed that one to my brother Steve he remembered when the store was at that location. He was 8 years old in the late 1950s and our father was taking him to the circus. They stopped at the store for something and he was waiting on customers – cowboys from the circus – and brought Steve to meet the “real” cowboys. This is the imprint – not my saw, this one was way out of my price range –
The catalog has a full line of Buck Brothers “London” style carving tools, and firmer gouges, chisels and turning tools. And lots of planes – 7 pages of wooden-bodied planes and 11 pages of metal-bodied planes, including some Bailey’s, Stanley’s and more. Some transitional planes too.
One more – Le Page’s Liquid Fish Glue – “And it never smells” Words to live by.
[this is only my 2nd post on this blog in 2024. Most of my writing is concentrated now on the substack blog – https://peterfollansbeejoinerswork.substack.com/ I try to post one “free-to-all subscribers” post there each week. Otherwise, free subscribers get a short preview. Paid subscribers ($5 a month/$60 a year) get the whole shebang. Is it worth it? Not for me to say…but to give you an idea, since my last post here, there’s been 17 posts on my substack… which may or may not be a good thing. Meanwhile, I’ll still put something here when time permits.]
[PF note: I have been getting some new subscribers here and thought I’d bring you up to date on what’s going on with this blog. So for some of you, this ain’t news. Others might find out what I’ve been up to]
my old shop from years ago
Thirty years ago I began a dream-job – making furniture in a living history museum, then called Plimoth Plantation. I did it for 20 years. I loved that job for about 16 of those years. I still miss parts of that work. There’s parts of it I wouldn’t do again if you paid me…
After 20 years of that, I moved on and went out “on my own.” Since leaving that work, I’ve made my living by selling furniture and other woodwork, teaching workshops and classes, making videos – first with Lie-Nielsen, then through some I’ve made here at my shop, writing articles and books – and now a subscription blog at Substack.
The hardest part, well, one of the hardest parts – was/is the travel. When I was first doing it, I was still employed, so it was maybe two weeks out of the year. Then I booked more and more of it – to the point where when I was here, I’d be packing or unpacking for a trip. Seeing all those people, teaching classes – all of it was great fun and I always appreciate that people would dedicate the time and resources to spend the time with me that way. I hope they learned something or somehow got something out of it. I got to go places as far-flung as Sweden, England, Australia, Alaska and lots of places in between.
Öland
Once the pandemic shut the country down, the travel stopped. I’ve done some traveling since then, but not much. I still venture out a few times a year, I’ve taught ladderback chairmaking at Pete Galbert’s once or twice a year for the past few years. And something carving/oak-related at Lost Art Press in Covington, KY once a year. I might add one or two more, not sure.
There’s personal reasons for me to be at home more. But I still gotta eat, so do my kids. So I took some cues from Pete Galbert and Chris Schwarz. During the pandemic, Galbert began a vimeo-on-demand series about chairmaking. I bought it and loved it and decided to give it a shot myself. I had made a lot of videos with Lie-Nielsen Toolworks and done several episodes of Roy Underhill’s Woodwright’s Shop TV show. So I knew a little about what I wanted you to see – and my son showed me some basics of how to edit video files. But what I can’t do is shut up – I used to talk for a living. So my first video series, on building a joined chest with a drawer, starting from the log – runs over 20 hours! Sorry about that…
[videos led to my all-time favorite comment from a reader/viewer. Hearing the noise of my neighborhood, particularly sirens heading from the nearby police & fire stations toward the highway that runs between Boston & Cape Cod, someone wrote to me “It looks like you live in this beautiful rural setting but it sounds like you live in Detroit.”]
One reason I made that series, aside from making a living, is to have a record of it. I included a joined chest in my book Joiner’s Work – but to have the whole thing step-by-step on video – maybe someday that will turn out to be a good thing. I never know how many more of these projects I have in me. I then did a shorter one on making the Jennie Alexander ladderback chair, and have one underway now about some Germanic chairs and another joinery one planned. So there’s some videos that you pay for, but I still have many videos on youtube that are free. One was a whole series on making a joined stool –
first version of this box with drawers underway
From Chris I swiped the idea of a subscription blog – I’ve written this WordPress blog for free since 2008. It limps along now, but has over 1,500 posts. Some of those were just me selling stuff, announcing classes, etc – but most of them amount to articles about my woodworking. They’re still here, they’re still free. I’ll keep them here as long as WordPress lets me. I still refer back to things on this blog regularly – to see what I did when, “when was the last time I made such-and-such” – even “how did I make such-and-such.”
The substack blog has two levels of subscription – free and paid. Free subscribers get a few posts in full – the first ten or so are free to all. Every once in a while I make one available to all. Otherwise, they see the beginnings of the posts. Paid subscribers see all the content. I aim to take another cue from Schwarz and make a once-a-week freebie there.
One thing I see on them when I look back on this WordPress blog is the comments, particularly those from Jennie Alexander. I worked closely with JA for years and years and in the last years of her life, she wasn’t able to keep woodworking, But her thoughts were still on the subject. So those comments mean a lot to me now. I’ve been working off and on for a few years now on a project I call my Craft Genealogy. It’s about the people who taught me woodworking – Alexander, Drew Langsner, Daniel O’Hagan and more – I post snippets of that research regularly on the Substack blog. It will turn into a book once I get a handle on it. There’s still some research to do. Alexander and O’Hagan in particular left a lot of notes – and Drew is still around. So I keep reviewing and asking questions.
I’ll keep trying to post on this blog now and then, but most of my action is over on the substack one. Now that people are paying for it – I’m trying hard to give them their money’s worth. One reader begged off, I was writing too much! Looking for a happy medium..
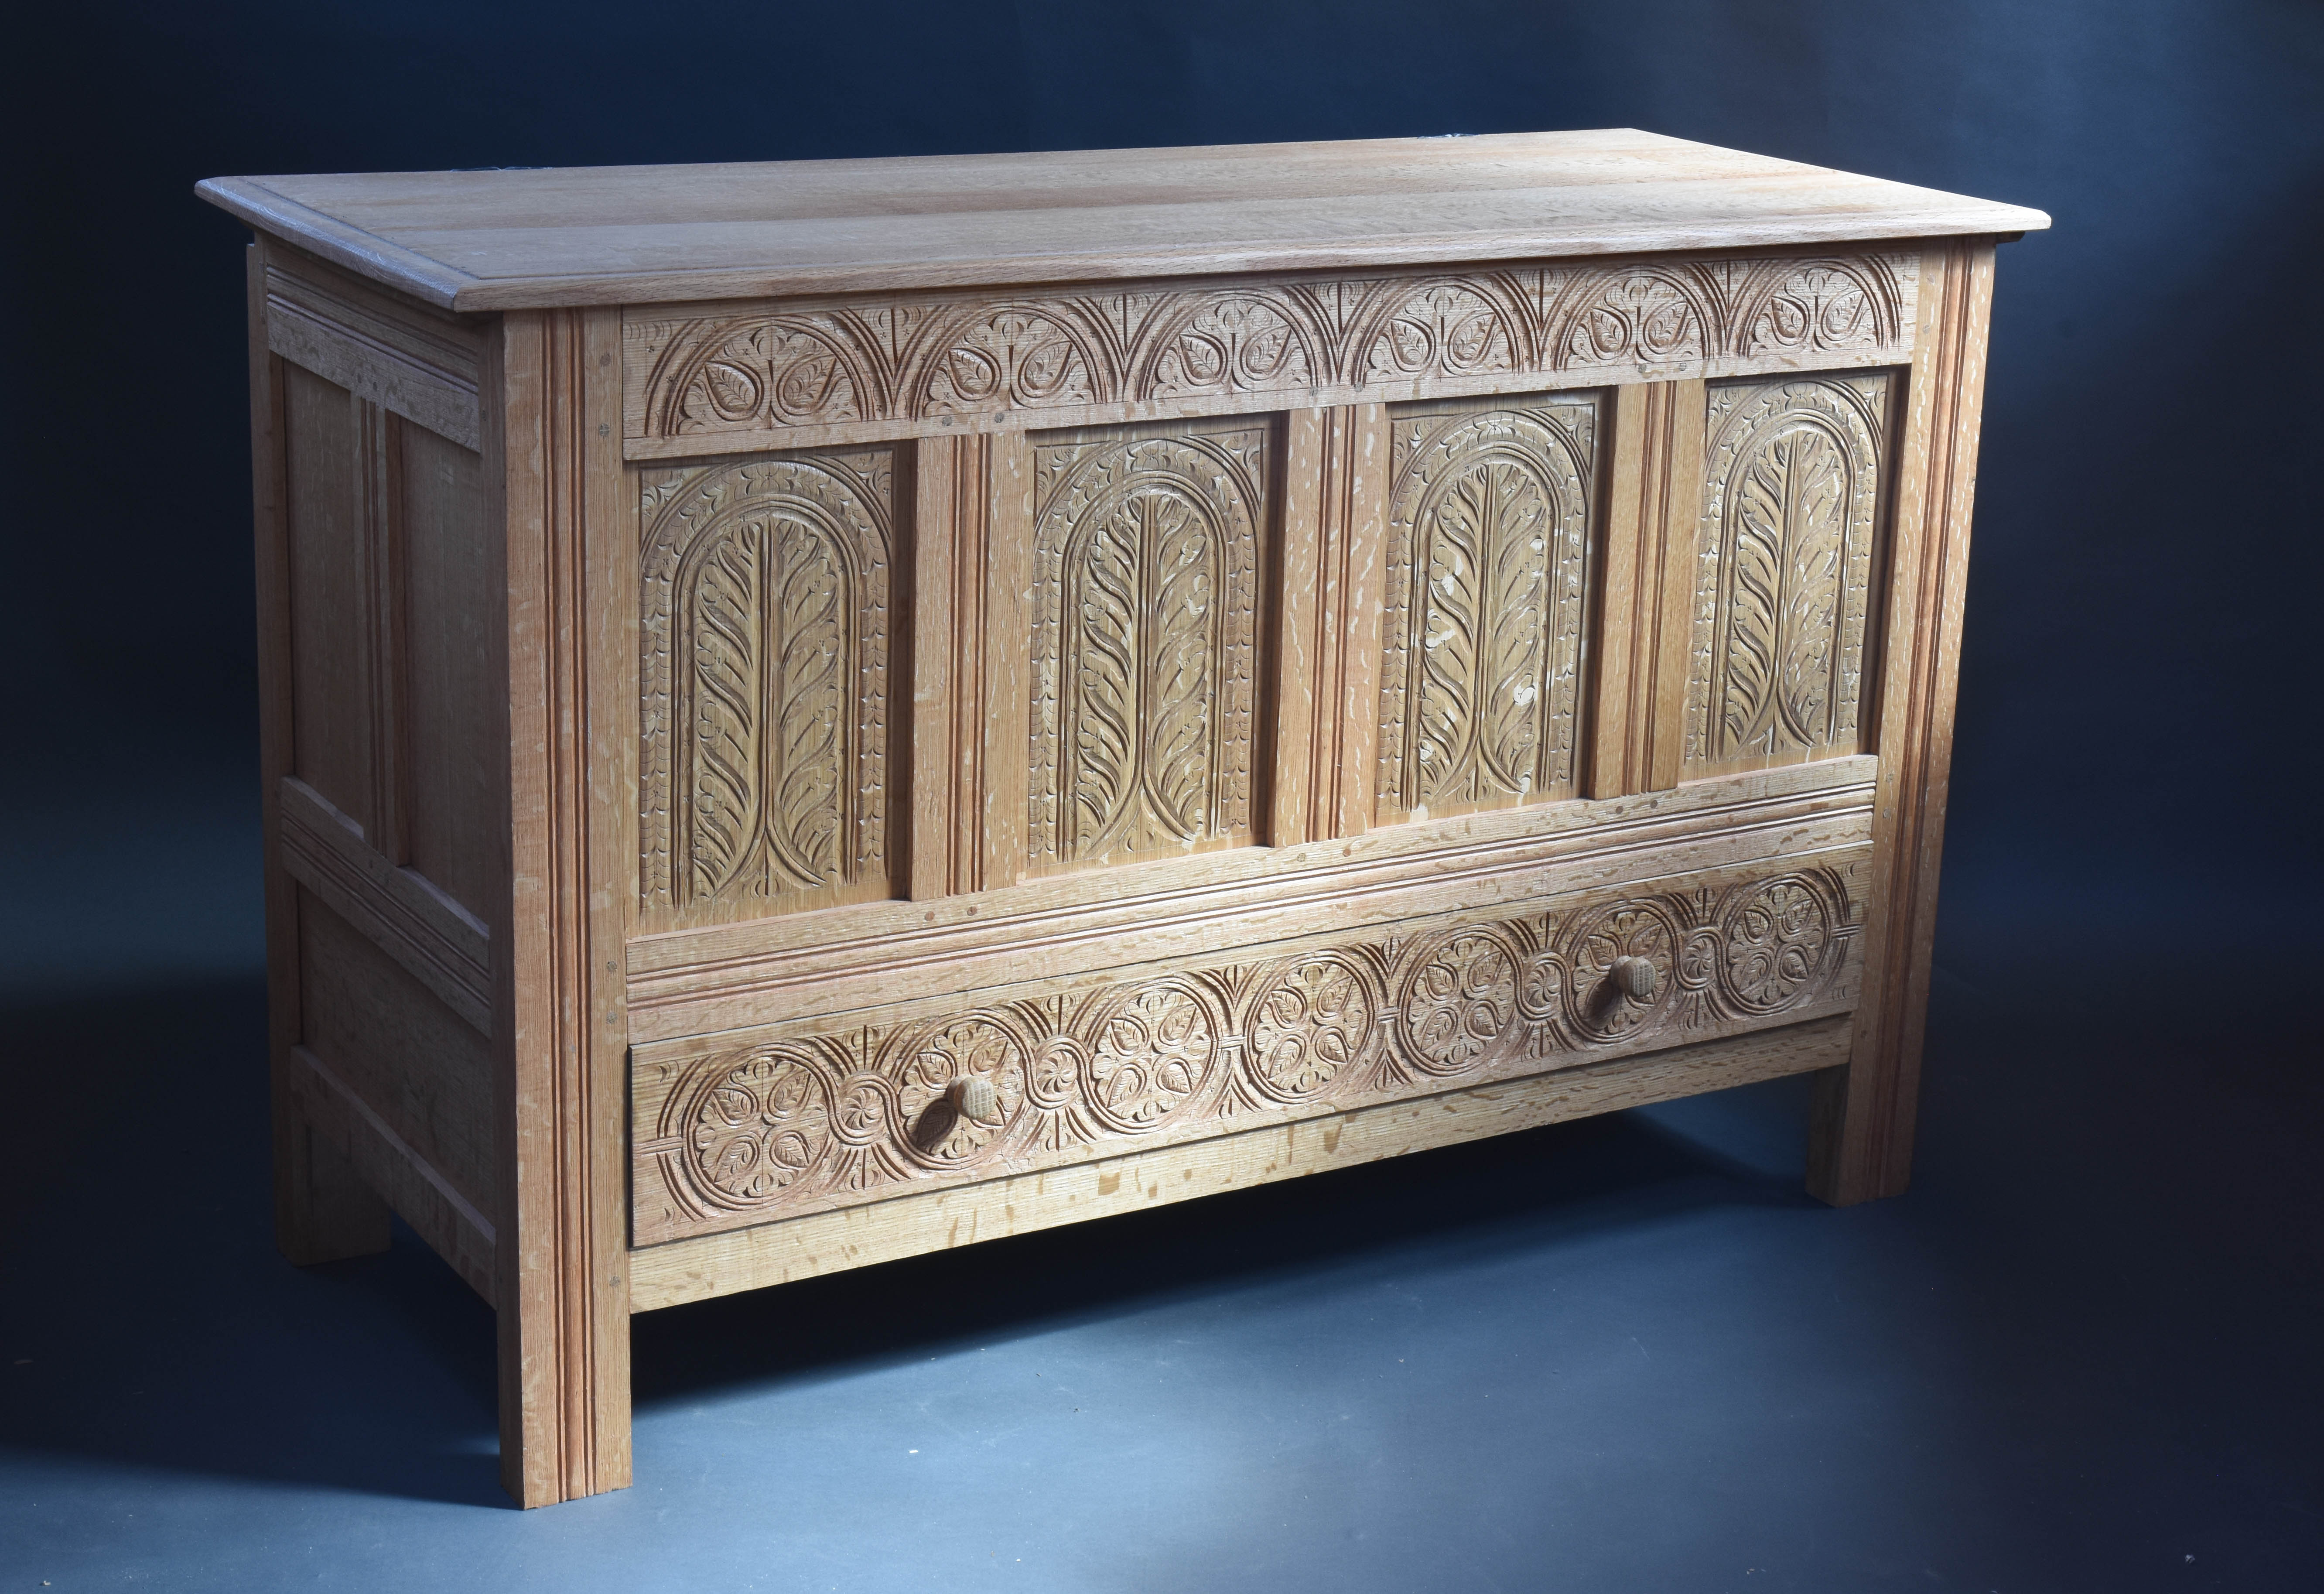
I got a note from my friend Erik Gronning recently about this chest that Sotheby’s has for auction in January. It’s part of the group I studied with Jennie Alexander and Bob Trent eons ago – that we eventually published in 1996. We attributed them to the Savell family in Braintree, Massachusetts; William Savell and two of his sons, John and William. At that time, we had found about 10 chests in this group – and by now there’s probably been about another 6 or more. I’ve lost track in my head, but I do have notebooks with the details. I’m just not digging them out right now – or I’ll lose the morning down a rabbit hole.
This one is, to me, a bit frustrating. Mostly because some moron cut the two middle panels to become a cupboard – it’s not unusual – and it could be worse. Often when they did that, they secured the lid permanently. Thankfully, this time the lid is still function as a lid – AND it’s the original chestnut lid. Very rare survivor.
So other than the transmogrification this one is in prime condition. I’ve not seen it in person, but Erik sent me some nice photos. One of the features of this shop is their strict adherence to a format – they varied very little from one chest to the next. If you went to their shop to buy a chest, this is what you got. We’ve only seen 2 chests from them that were made without drawers…but otherwise this is it.
I made one as a video series a couple of years ago.
It sold and I was glad to get the money – but I liked the chest too – if I had room, I’d make myself one of the two-drawer versions next.
The loft was the cleanest it’s been in about 2 years. Only stayed that way for 24 hours. The next day I got a stash of clear wide pine boards for box bottoms and lids. So I chopped it all up to 4′ lengths and stickered it in that empty space you see in that opening photo.
mostly 8-footers
Those boards are mostly 15″-17″ wide and most are just about perfect. Eastern white pine (Pinus strobus) is one of my favorite woods – as it was for the 17th century joiners in this area too. It’s the most common secondary wood in case furniture around here in eastern Massachusetts. I use it for box bottoms and lids, chest & drawer bottoms. Often rear panels are pine too – both the upper and lower case of this cupboard I made have pine panels.
PF cupboard, 2023, rear view
I’ve been finishing up another two boxes – one with a carved lid, one with a plain lid (like most boxes). Those will be posted for sale the end of this week on the substack blog. I carved a lid like this last month – and liked the effect so much I went for one more. But they are a ton of work. I count myself as a fast carver – but not this stuff. These strapwork patterns use a lot of tools, a lot of careful layout. This lid took about 10 hours to carve. Size is approximately 14″ x 24″.
carved lid, strapwork design
Most of the writing & photography action from my shop has migrated to the substack blog – many of you already know that. I appreciate the support people have shown me as I’ve moved my main focus over there. I first saw Chris Schwarz writing his new blog there and followed suit. And now, because people are shelling out hard-earned cash to read it, I’ve tried to make it worth their time and money. I’ll still keep at this blog from time to time – but the more frequent posts are over there. Looking at the site, I counted 12 posts for the month of November -two of them were just to sell stuff – mine & my wife’s – but that leaves ten articles for the month, to give you an idea of how much content is there. (11 for October – so every 3 days about) It might be more than some can stand!
After these boxes are done, I have some research to work on – preparation for making my version of a “dressing” box like this one, related to the cupboards I made in the last 2 years. A 17th-century form I’ve never made. This one’s from Winterthur, I’ll change a thing here & there, so not a direct copy. But I like the form. It’s small – about 19″-20″ high, similar width. A box with compartments above and three drawers below.
A disclaimer – Another non-woodworking post. First off, thank you to all who left comments about my recent also-non-woodworking post about my father Moe. I appreciate the support. I tend to shy away from writing much personal stuff here (or anywhere on the web.) But indulge me one more time, today’s a significant day in our household. Our kids turn 18 today.
Inspecting the goods. Rose, 3 years old.
My wife Maureen and I got a late start – we were married in 2003, I was 45, she was 39. So we knew there was a clock that was ticking. But we decided to roll the dice – and got more than lucky when the time came. In the early spring of 2005 we knew she was pregnant – I remember a doctor telling us about something the size of a kernel of rice. So I took to writing letters to our would-be child, Colonel Rice. Telling him or her all about the wonderful things we’d do once they were out here with us. But then early on, we found out we were luckier than we thought – there were 2 of them! So Colonel Rice wouldn’t do any longer. I took to calling them Spike & Trixie. Maureen wasn’t so keen on my naming choices. So we opted for Rose and Daniel somewhere along the line.
planting an English oak, 2009
I remember hitting on the name Rose very easily – by practice-yelling upstairs “Rose Follansbee, you come down here this instant!” Rolled right off the tongue. Daniel’s name was longer in coming. My brother Steve offered me $100 if I named one of the children Stephen – but I held out for more and it didn’t come. All in all, the story of naming him becomes too long – Maureen has 5 brothers – so lots of names were out of the running. At the time I was doing a lot of research about London joiners – reading lists and lists of names. Tossed a lot out (Epiphanas? Theophilus?) and came up with Daniel. As an added bonus, a friend who was a great inspiration in my woodworking was named Daniel – our son is not specifically named for him, but it’s a nice connection – for me anyway.
Daniel at the shaving horse, 2010
We had time for all that – Maureen was on bed rest for 11 weeks. We had been to England that summer and I think she went to bed (doctor’s orders) shortly after that. 11 weeks! What patience. I don’t remember her complaining at all.
England, summer 2005. Folding portable stool in hand…
And last night I was thinking about the hours we spent in the hospital waiting for them to arrive. The doctor came in and explained that things were fine, but we’d been there a long time and could opt for a C-section – “talk it over” she said & left the room. I looked at Maureen and asked “what do you want to do?” – I got the answer, opened the door and yelled down the hall “It came up tails, get your knife!” And one person’s main task was to figure out how to seal up my beard in the OR. (Two face masks, one wrapped left and one wrapped right is the answer).
I used to put them on the blog from time to time when they were small, but after a while they stopped letting me aim cameras at them like they used to. So picking more recent pictures is harder. I’m sure most parents feel about their kids the way we feel about ours. Mixtures of wonder and amazement. And perplexed. Optimistic and afraid. Still surprised from time to time. Lately I’m reveling in getting to see the good people they are becoming. I couldn’t be happier, my life is complete because of them.
Daniel, seeming to say “are we done here?”
Rose w catalpa flowers
Happy birthday kids – we’re so glad you’re here.
—————
Some woodsy stuff next time. And there’s usually a post every 3 days or so on the substack blog – or you can look back on this blog, all the way to 2008. New blog is here: https://peterfollansbeejoinerswork.substack.com/
Every year about this time I point to Maureen’s Etsy shop – all the time I’m farting around in the shop, she’s in here running the household and knitting (& more) up a storm – she was just in the shop the other day to photograph some things against the door. How this isn’t covered in wood chips is beyond me.
mohair scarf
This one she kept in the house –
gray shawl
And there’s paper work too – not paper work like that stuff we all dread – notecards, bookmarks and prints done with a process called eco-printing. She takes leaves, flowers and other bits collected on walks and prints them onto paper.
eco-printing
She sent me a blurb – “A sample of some of my latest hand work and botanical eco prints. Photos- Merino wool shawl, mohair knit scarf and botanical print journal and card sets. Posted on the site are various other knitted and silk scarves, shawls as well as botanical prints in mats, ready to frame.
I will also have a restock during the first week of December.
The only woodworking announcement I have right now is a chairmaking class I’m teaching with Joel Paul up at Pete Galbert’s next spring. April 8-13, 2024 – making the Jennie Alexander chair.
Joel and I have done it a couple of times and it’s great fun. We’ll guide you through splitting the parts, shaving them and working all the steps all the way up to assembling the chair and installing the slats. Seat weaving is usually a demonstration – some have time, others do the seat at home…
slat demo
There’s only a few slots so if you’re inclined get a hold of Galbert.
I haven’t really worked out a teaching schedule for next year. It’s not going to be more than 3 or 4 classes. If that. One tentatively at Lost Art Press, I haven’t figured out the time for that yet. I’ll get a hold of Megan. If it happens, it’ll be the 2nd half of the year. Bench work, carving oak.