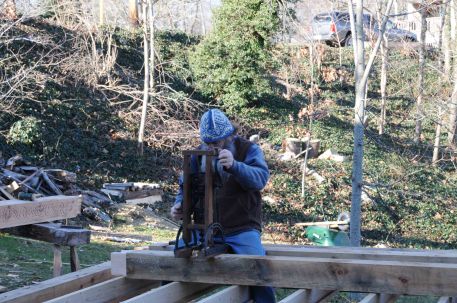
There’s more to mortises than the boring machine, as enticing as that device is, it’s only the start. I wait until there’s several joints laid out, then bore all of them…then tuck the machine away & go on from there.
Here’s one of the through-mortises that’s all bored, three 2″ diameter holes:
Then it’s chisel work. This is actually a different mortise, but the principal is the same. Here I’m chopping the end grain.
And here paring the side walls/cheeks of the mortise.
I went to pick up my 2″chisel the other day, and there’s a ladybug crawling around. In January?
This mortise is chopped. Now the timber needs to be reduced to 5 3/4″ at the joint. It’s how we compensate for the various sizes of 6x6s in the frame.
First, saw down to the scribed lines,
then knock out the waste with the chisels,
then pare it flat.
then cut a bevel along the bottom end of the mortise, where a corresponding one on the tenoned piece meets it.


I’ve ogled those huge chisels from time to time (and from afar) but can never justify having even one of them. Nice to see you putting one to good use.
Oh, and be mindful you don’t get that beard caught in the works! I’m sure the result would be anything but “boring”.
Oh wait, by “boring” you meant…never mind.
Harmonia axyridis?
Looks like a ton of work…. Probably fun for first couple of beams though. Hard to believe they use to build large houses in the same fashion.
looks familiar and looks like you know what you’re doing–
Gonna need some big oak to split out the panels for this frame ;)
Interesting method. I’m an itinerant timber framer. Normally I would only bevel the tenoned member. I suppose the double bevel makes for a unique look and could reduce the splitting on the mortise housing/haunch. This wont be the first time I have left your blog edified. Thanks Pete!